- Home
- Drawing Tutorials
- Sharpen a Drawing Pencil
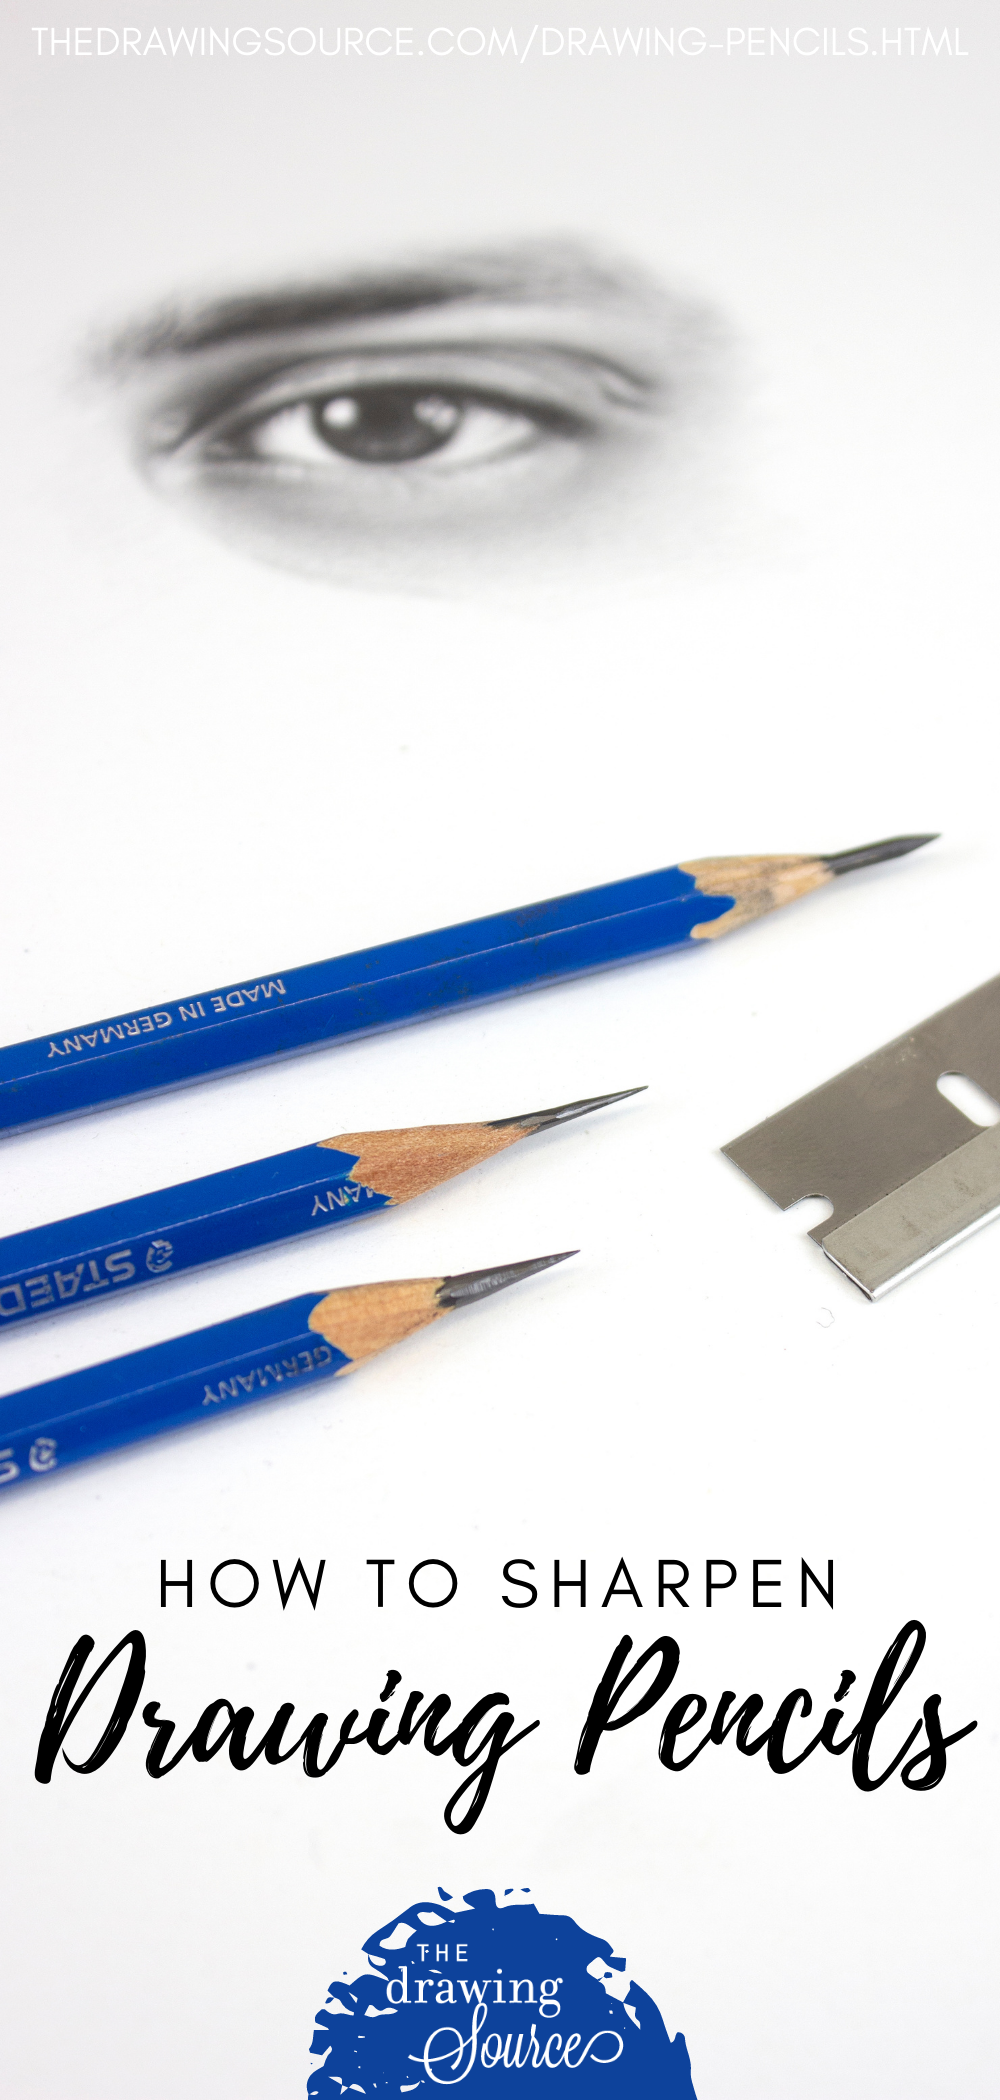
How to Sharpen a Drawing Pencil
Video Tutorial
F R E E D O W N L O A D:
Download this video by entering your e-mail address below!
(Plus, access the Members-Only Drawing Resource Library, and receive a weekly newsletter!
An important precursor to a successful drawing is learning how to prepare your drawing materials. Perhaps the most important (and the most challenging!) is learning how to sharpen a drawing pencil.
This process is quite different from sharpening a pencil for writing, and it will take some practice, but it is entirely worth it, as using the most efficient tool will greatly affect both your drawing process, and the quality of your final drawing.
Your drawing process will progress more smoothly, efficiently, and therefore more enjoyably! As for your final drawing, a properly sharpened pencil gives you much more opportunity to create various qualities of line - from sharp, precise lines, to broad, sweeping lines. By using a variety of line qualities in your picture, you can create a much more visually interesting and engaging drawing.
A precise, yet interesting drawing with variations in line quality begins with a properly sharpened pencil.
Pencil Sharpener vs. Razor Blade
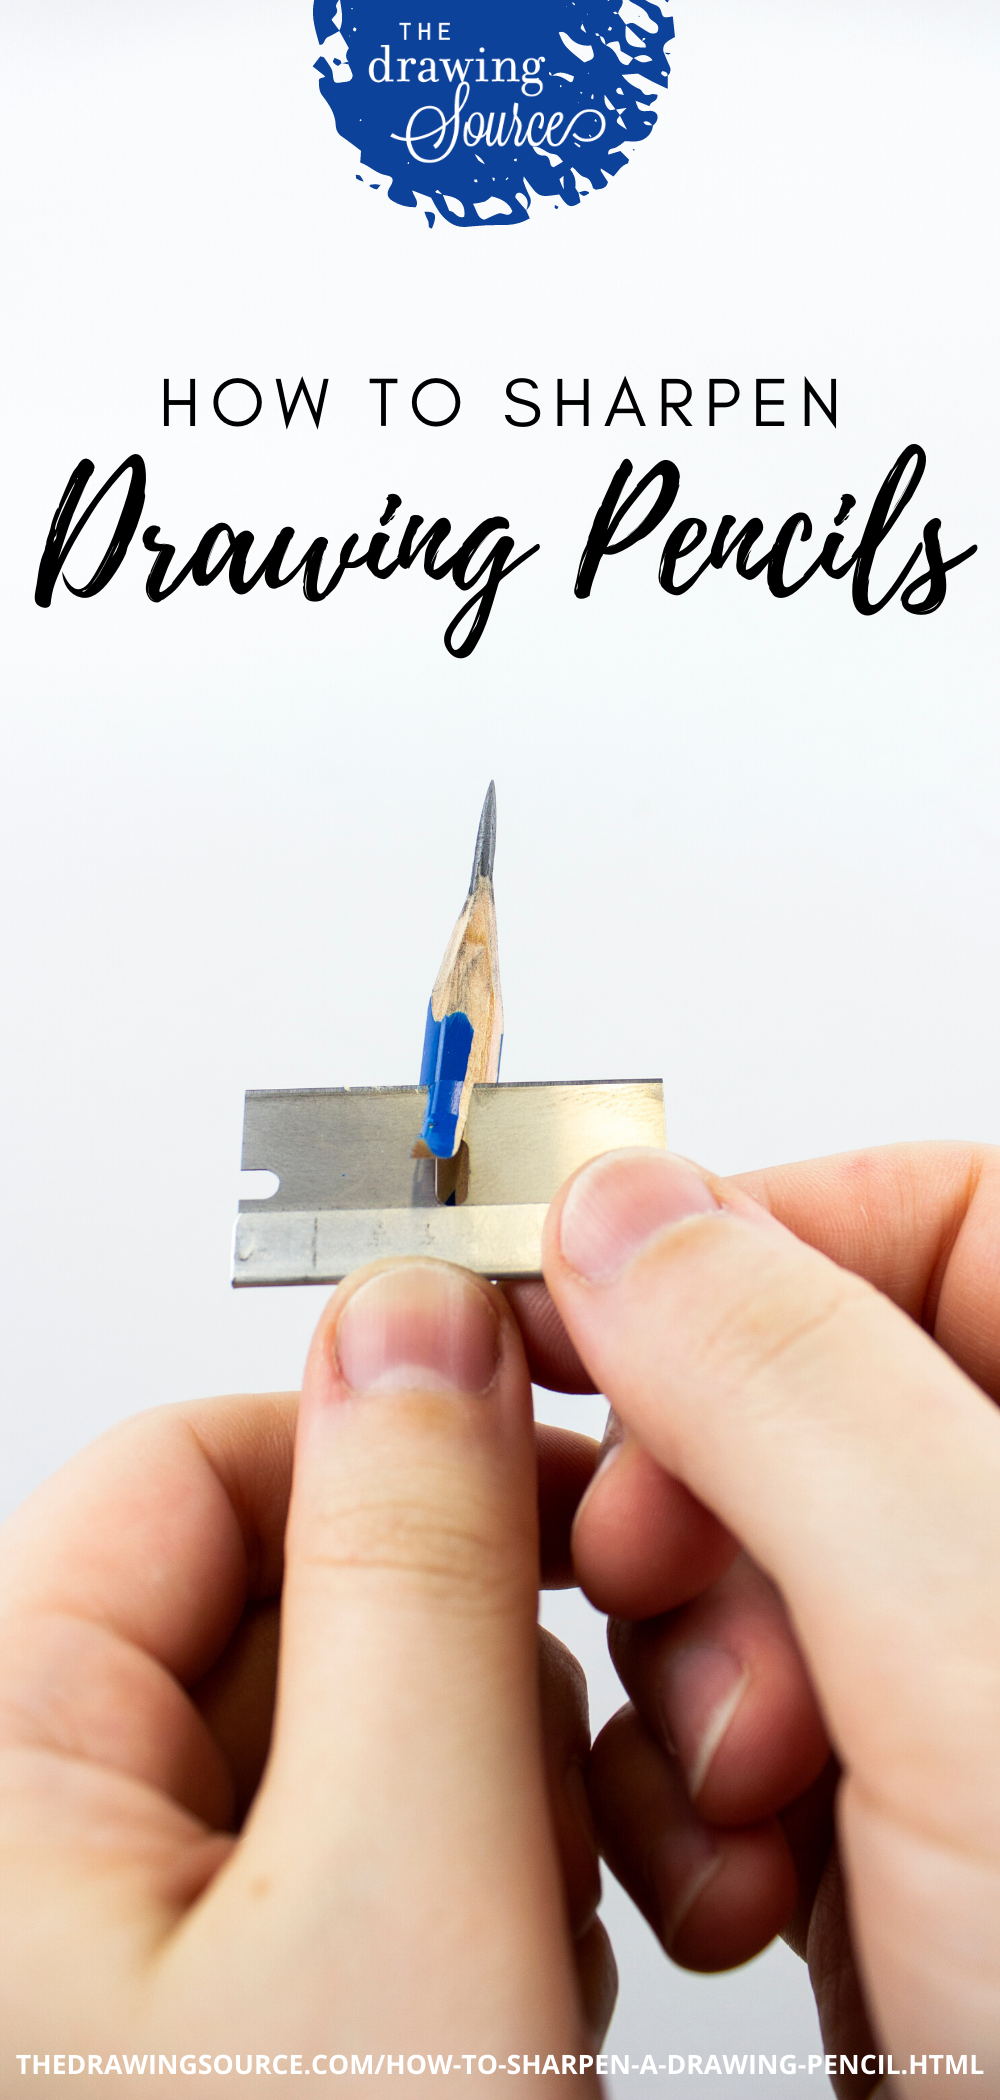
o transform our pencil into the most effective drawing tool, we sharpen it using a single-edge razor blade instead of a common pencil sharpener. This is done for several reasons.
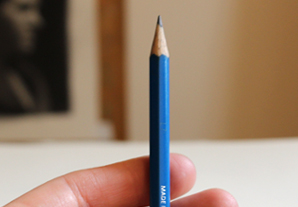
Take a look at the image to the right.
What is the difference between these two drawing pencils?
Pencil A was sharpened with a pencil sharpener.
Pencil B was sharpened with a razor blade,
using the method you are about to learn.

Why not use a pencil sharpener?
You may be wondering: Why would we learn a whole new skill instead of simply sharpening our pencils with a common pencil sharpener?
Reason 1: To create the most versatile and effective drawing tool.
As I mentioned earlier, a properly sharpened pencil allows you to have much more control over the quality of your lines. With the same pencil you will be able to draw a sharp, precise line, or a broad, sweeping line. You cannot draw a thin, crisp, accurate line with a dull pencil! Nor can you use it to create wide pencil strokes because the side of it simply won't be wide enough. Your efficient drawing pencil will also come in handy for various shading techniques.
Reason 2: To eliminate distractions and create a stream-lined drawing process.
Compare Pencils A and B and notice how much longer and sharper the pencil lead is on Pencil B. The point of a pencil sharpened with a common pencil sharpener (Pencil A) will become dull within minutes of beginning a drawing. You don't want to have to pause the drawing process to sharpen your pencil every few minutes, distracting you from your work. Drawing is challenging enough without working against your drawing materials!
Learning how to sharpen a drawing pencil this way is challenging at first, and will certainly take practice. However, your care, dedication and skill will be evident in the quality of your drawing.
Materials Required to Sharpen a Drawing Pencil
I will be sharpening a 2B graphite pencil, but you can use this method to sharpen essentially any drawing pencil - charcoal, conte, etc. You can also sharpen any grade of pencil. Grade refers to how hard or soft the lead of the pencil is - learn all about this on the drawing pencils page!
Though it may be more difficult at first to sharpen a very soft pencil, such as a 6B, or a very hard pencil, such as a 6H, this is just a matter of practice.
2. A Single-Edge Razor Blade

You will need a single-edge razor blade, which can be purchased at your local art store or hardware store. Please use caution and care with these, as they are extremely sharp.
3. A Sandpaddle Sharpener
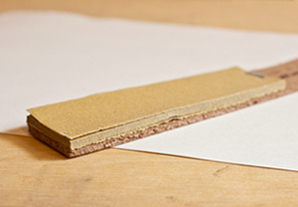
You will also need a sandpaddle sharpener. This is essentially sandpaper on a hard surface, so if you wanted to you could easily make one at home by glueing a piece of sandpaper to a piece of wood or MDF.
The store-bought ones are useful because they have several sheets of sandpaper that can be removed as they're used up.
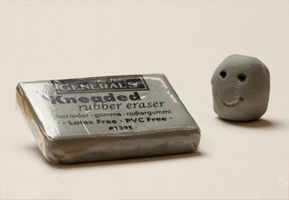
You will need a kneaded eraser. This is for cleanup purposes, but is rather important, as pencil dust will otherwise mysteriously migrate onto all possible surfaces.
Check out a video tutorial on three ways to use kneaded erasers for realistic drawing here!
5. A Dustbin
Finally, you will need a dustbin to collect your pencil shavings.
Pencil Sharpening Technique
Please view the video at the top of the page for a detailed
demonstration on how to sharpen your drawing pencil with a razor blade!
Because this pencil sharpening technique is so specific and much easier to understand through viewing rather than through reading, please watch the step-by-step video tutorial at the top of the page to learn the ins and outs of this technique, and be sure to contact me at info@thedrawingsource.com with any questions you may have!
Happy Drawing!

F R E E D O W N L O A D:
Download this video by entering your e-mail address below!
(Plus, access the Members-Only Drawing Resource Library, and receive a weekly newsletter!
Enjoyed this page? Please share it!
Share buttons and pinnable images below:
Related Pages
If you enjoyed this tutorial on how to sharpen a drawing pencil,
you may also be interested in ...
Return to Drawing Supplies from How to Sharpen a Drawing Pencil
Return to the Homepage from How to Sharpen a Drawing Pencil
Search the site:


Improve your drawing skills with the free 6 Stages of a Realistic Drawing Mini-Course!
By Marina Fridman COPYRIGHT © 2023 The Drawing Source. All Rights Reserved.