- Home
- Drawing Tutorials
- How to Shade a Drawing
How to Shade a Drawing (Video!)
Your 4-Step Realistic Shading Roadmap
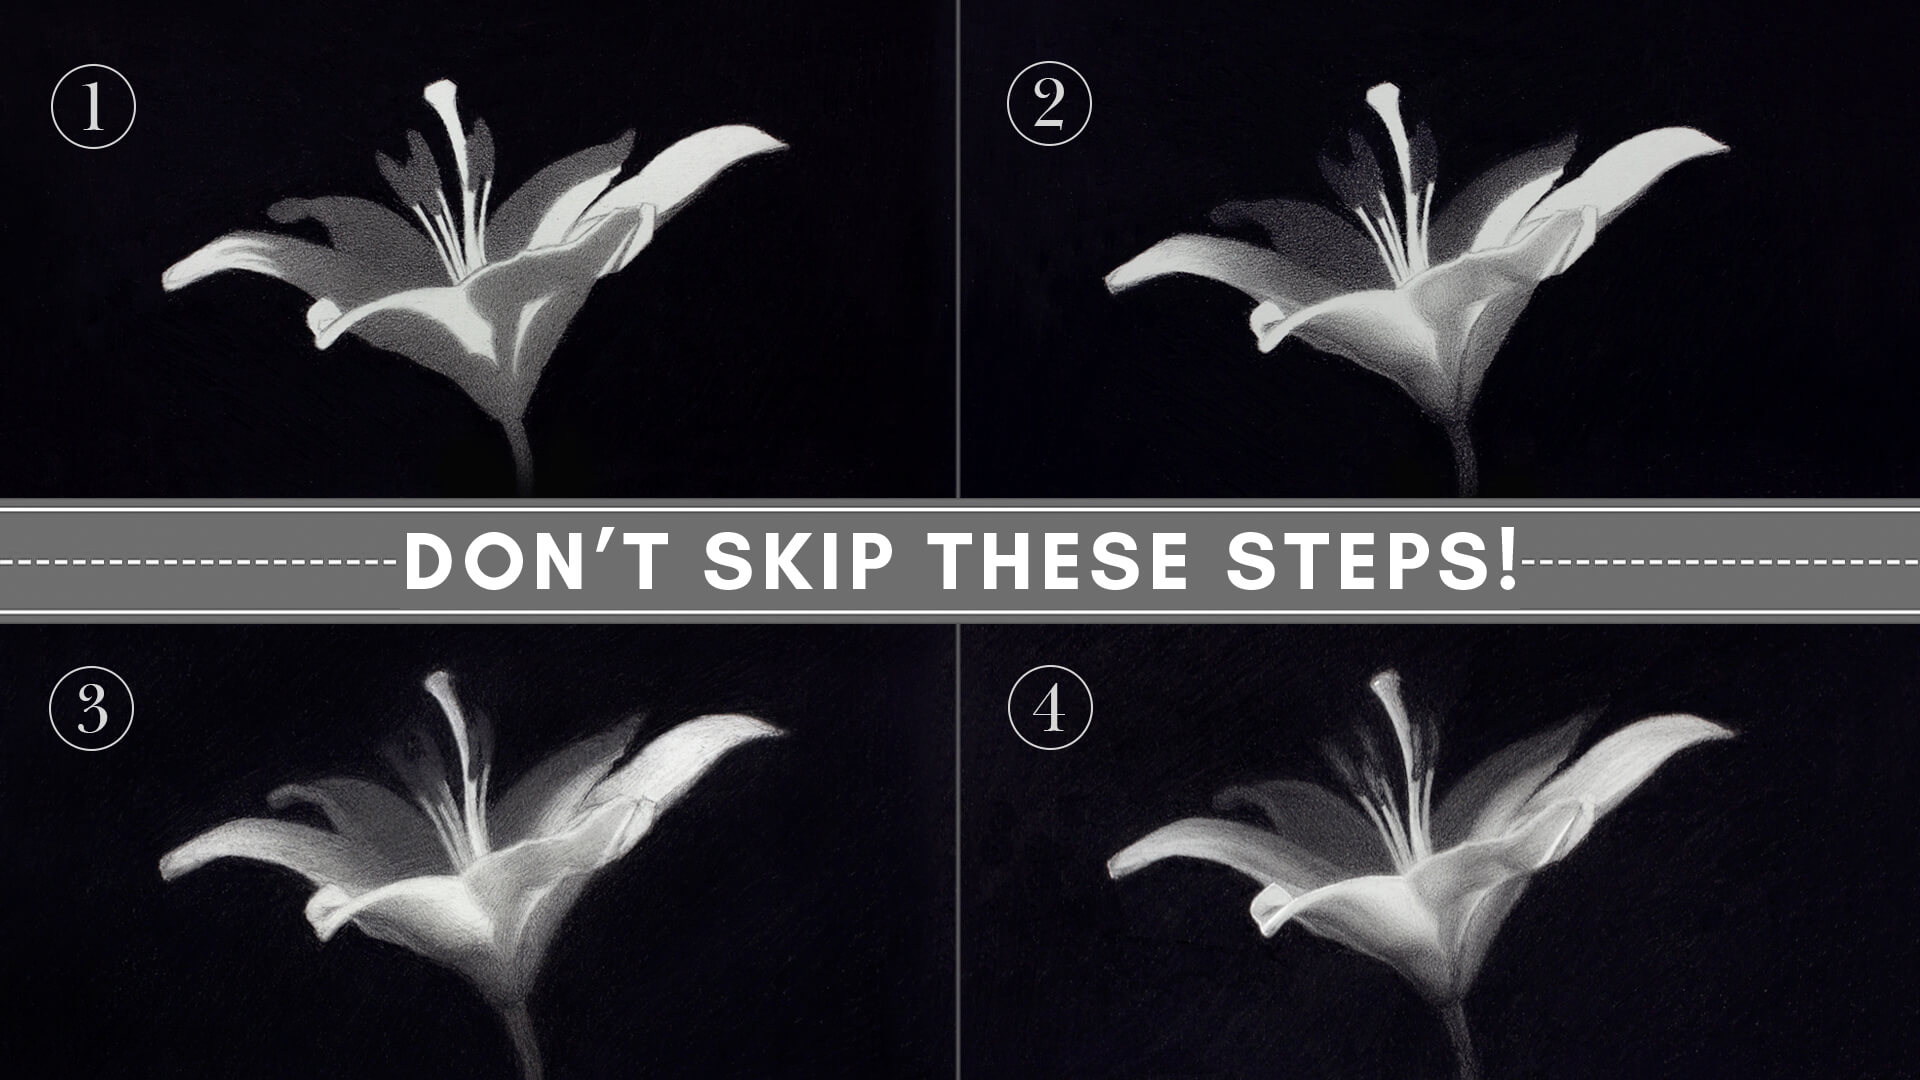
If you’ve been struggling with pencil shading and aren’t sure how to shade a drawing in a way that actually looks realistic — you’re not alone!
Many students struggle with shading because they’re missing a clear roadmap.
That’s exactly what you’ll find in this video (& accompanying downloadable guide!)
I’ll walk you through a simple, 4-step shading process designed to
bring clarity to your technique.
You’ll learn:
- The purpose of each stage,
- What to focus on at each stage, so you always know what to do next and don’t miss essential steps, and
- The correct order of the stages – because the order in which you do things is actually
a key to realistic results!
All of this should bring clarity to your shading process, and help your drawings gain depth, dimension, realism, and that polished, professional finish.
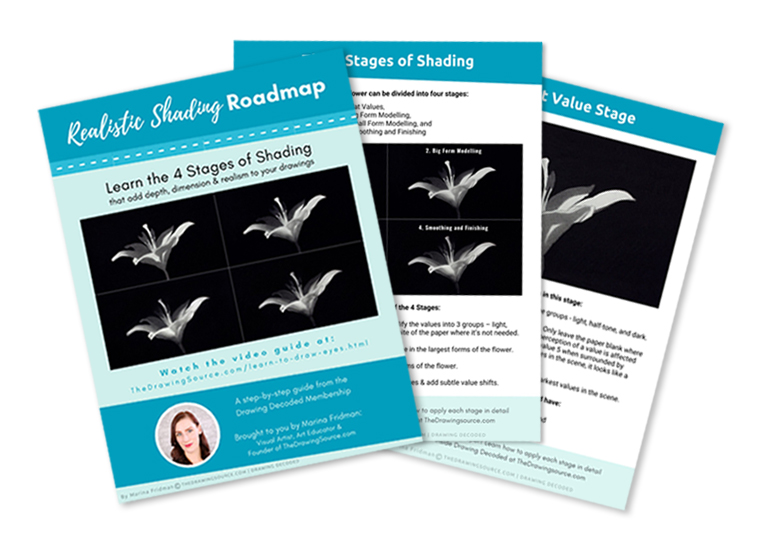
To make this even easier for you, I’ve put together a
free downloadable guide to these 4 Stages of shading, that you can download below:
F R E E D O W N L O A D!
Refer to this free Realistic Shading Roadmap during your next drawing, to guide you through the shading process:
Download the Roadmap here!
Video - How to Shade a Drawing in 4 Steps:
*For the best video quality, click the gear icon on the video, select Quality, and then 1080p HD!
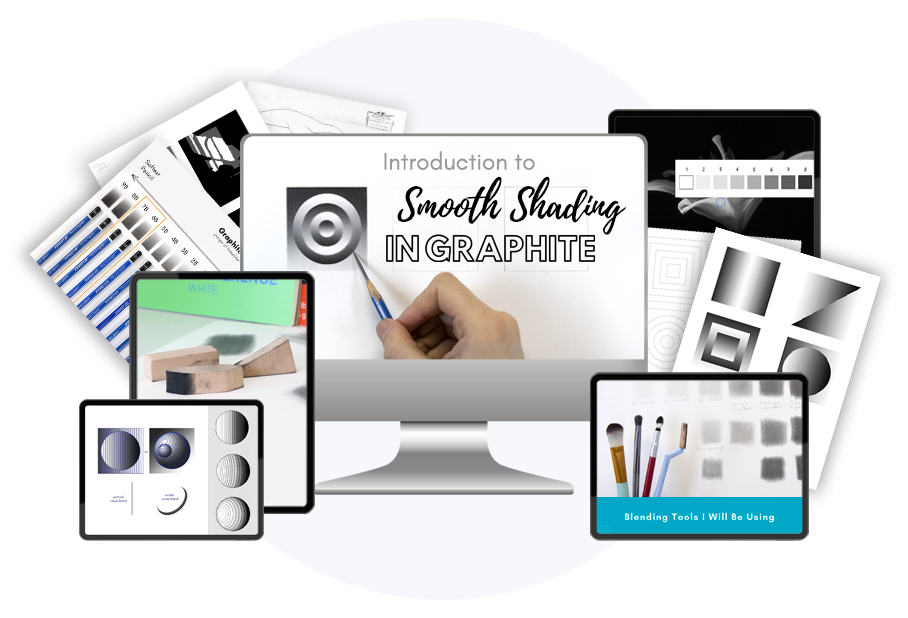
Now that you’ll have the roadmap — let’s build the technical skills needed to bring your drawings to life, in Intro to Smooth Shading in Graphite:
Prefer to read? Here is an article version of ...
How to Shade a Drawing: The 4 Stages of Shading
Let’s simplify how to shade a drawing so you can experience
the thrill of seeing your drawing turn from 2D to 3D!
We’ll
use the flower drawing below as an example, and I have a whole course (Realistic Drawing 101) where you can draw it with me, step
by step. Access it instantly inside my Drawing Decoded membership.
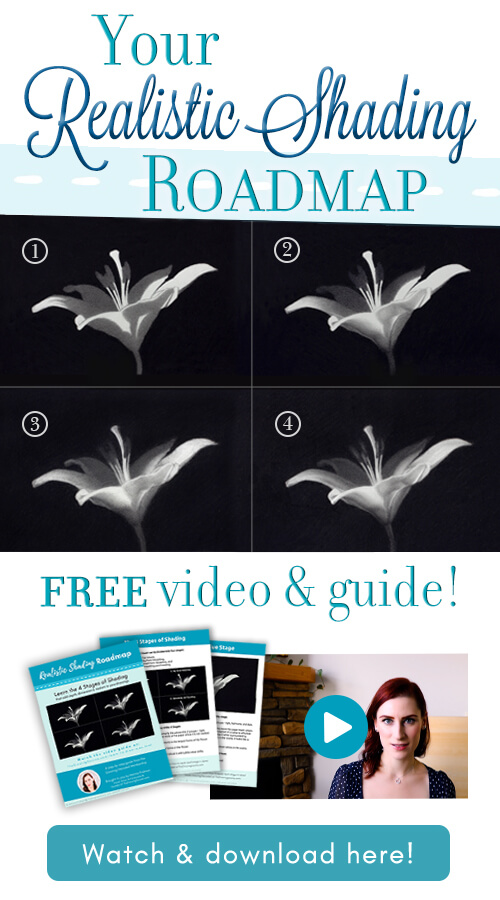
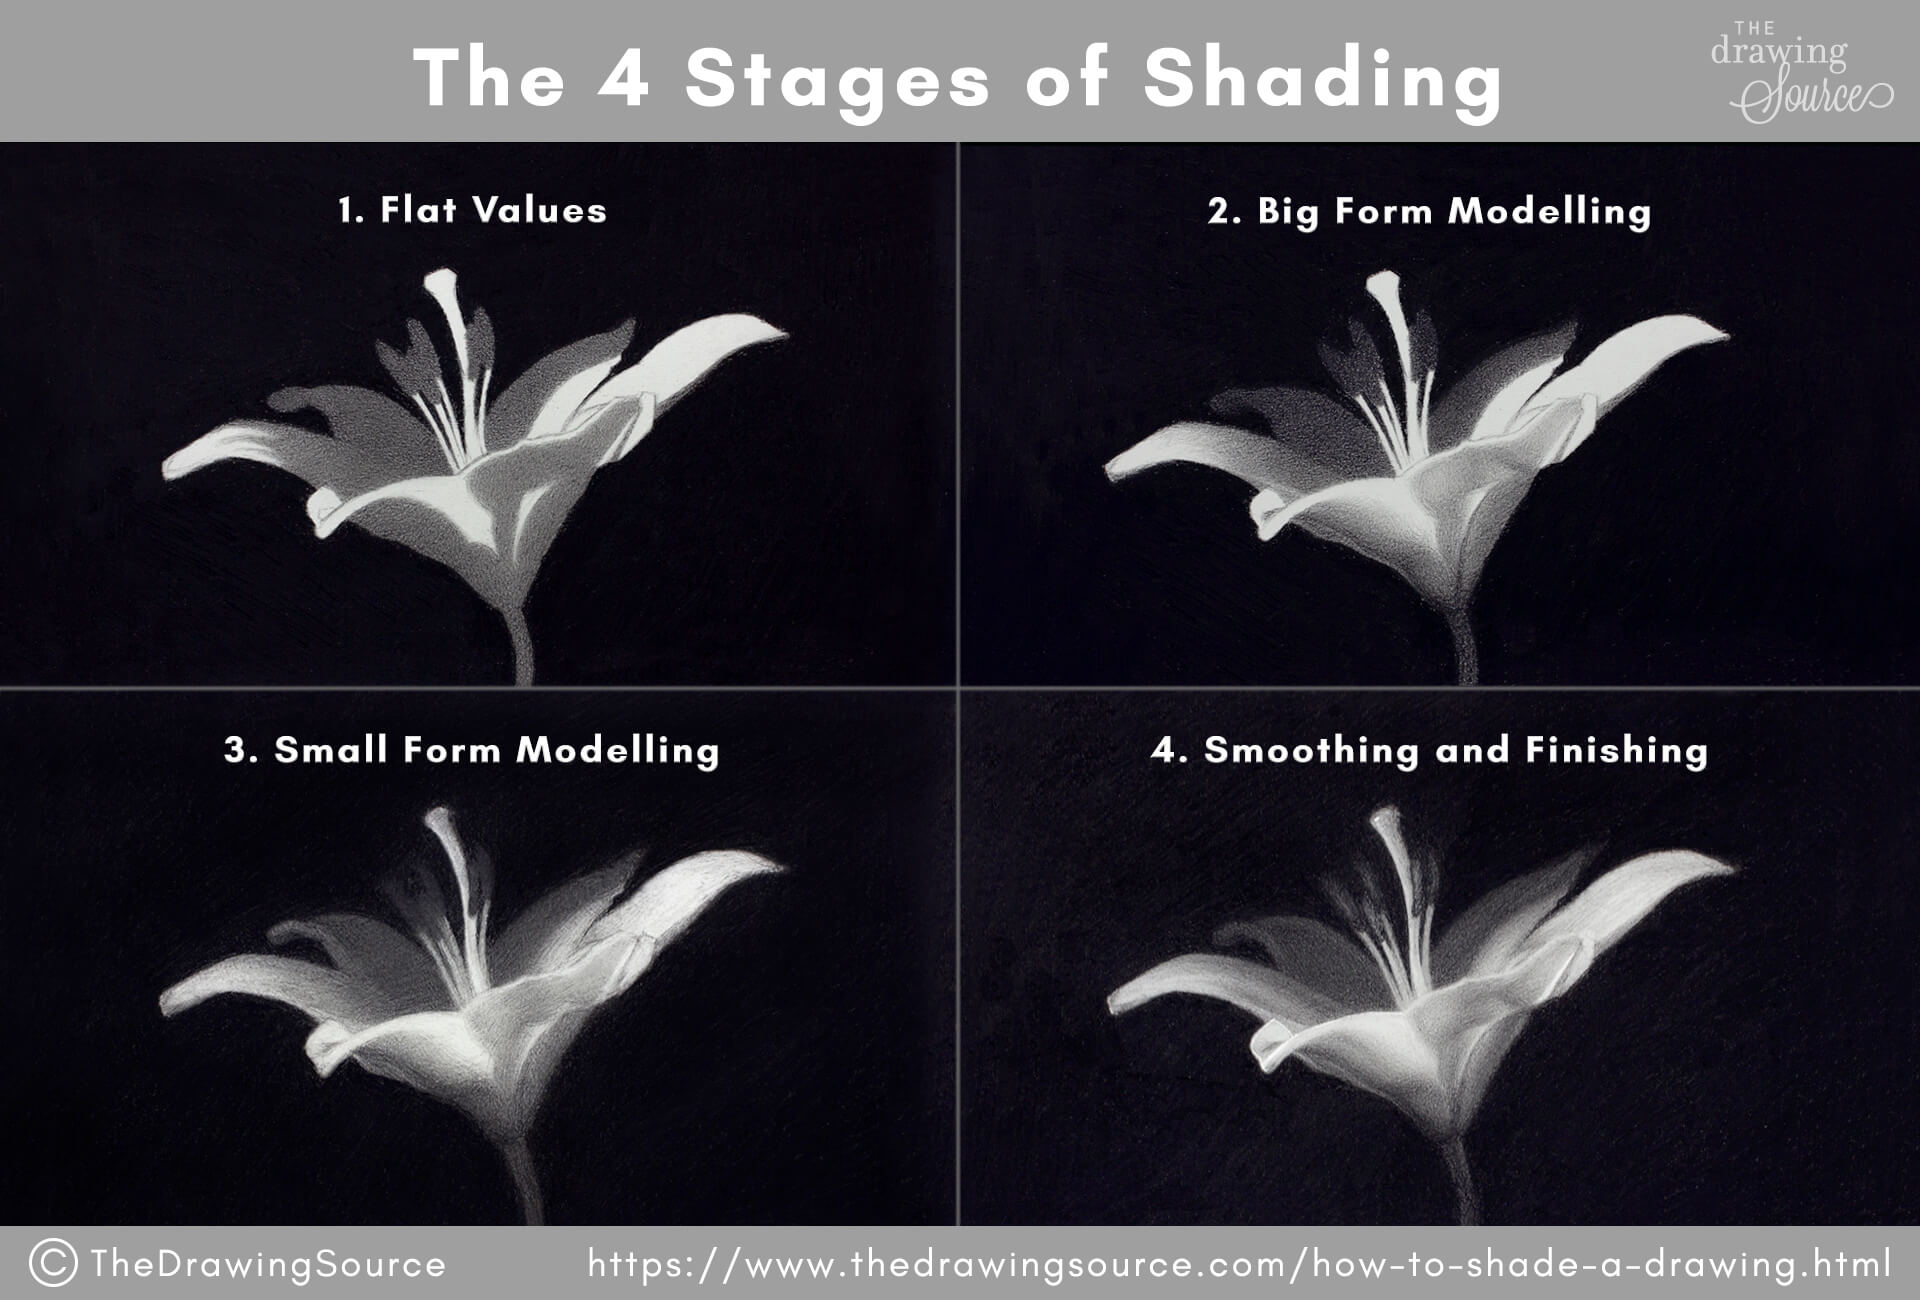
Shading this flower can be divided
into four stages:
- Flat Values
- Big Form Modelling
- Small Form Modelling, and
- Smoothing and
Finishing
Quick Summaries of the 4 Stages of Shading
- Flat Value Stage: We establish the value extremes, simplify the values into 3 groups – light, half-tone and dark, and cover the white of the paper where we don’t need it.
- Big Form Modelling: We create a sense of volume in the largest forms of the flower.
- Small Form Modelling: We render the small forms of the flower.
- Smoothing and
Finishing: We smooth out our values and add the most nuanced, subtle value
shifts.
How to Shade a Drawing
1) The Flat Value Stage
We
have three main goals in this stage:
1) Goal 1: Simplify the values in your subject into
three groups - light, half-tone, and dark.
2) Goal 2: Cover the blank paper where it’s not
needed. Only leave the paper blank where you need its light value. This is
because our perception of a value is affected by what surrounds it. A value may
look like a value 5 when surrounded by white, but when surrounded by the darker
values in the scene, it looks like a value 3.
3) Goal 3: Establish the value extremes - the lightest and darkest values in the scene.
By the end of this stage, you should have:
- a flat, 2D image,
- with specific and accurate shapes, and
- a value structure that correctly shows the relationships
between the light, half-tone and dark values in the image (learn how to do this
in Intro to Smooth Shading, in the Drawing Decoded Membership!)
How to Shade a Drawing
2) The Big Form Modelling Stage
Here we shift our thinking
from flat, two-dimensional shapes, to round, three-dimensional forms.
Our goal in this stage is to create a sense of volume in
the largest forms of the flower,
such as the far left petal, and the two front petals.
We can do this by softening the edges between the shadow shapes and the light shapes, to create smooth gradations. This can also be called ‘turning the form’, or modelling the big forms.
At this point, the values in the flower looks somewhat generalized, but it’s starting to look three-dimensional, by means of the gradations and variations in edge quality.
Besides turning the form, I also darkened the back petals. Look what a difference that made! Simply darkening the petals, making them closer in value to the background, pushed them back in space, and making them look farther away from us.
Notice that I haven’t started
working on the lightest areas of the flower yet.
How to Shade a Drawing
3) The Small Form Modelling Stage
Once the larger forms of the flower have a sense of volume,
we can turn our attention to shading the smaller forms.
These include both the separate small forms, like the ones in the center of the flower, and the smaller forms embedded in the larger ones. For example, the front right petal is made up of several smaller, interlocking forms.
In this stage we also want to start creating a focal point: an area of focus that attracts the eye of the viewer. My focal point in this drawing will be the front left petal, so I start making its edge sharper.
I’ve also finally started addressing the lightest areas of
the flower, and creating subtle gradations within them to create a sense of
volume.
How to Shade a Drawing
4) The Smoothing & Finishing Stage
The last stage of
shading is all about refining your drawing.
You’ll focus on:
- smoothing out your tones to create a sense of realism (learn to create smoothness and realism by filling in the gaps between values in Intro to Smooth Shading – included in Drawing Decoded)
- adding the most subtle, nuanced value shifts
- making sure your focal point is where you want it to be
To what extent you refine your
drawing is completely up to you. It depends on three factors:
Taste: whether aesthetically you like the smooth finish of this drawing, where you can barely see pencil marks, or a more textured look.
Skill: the sensitivity of your hand, the more comfortable you are with your drawing tools and shading technique - the further you will be able to refine your drawing.
And Patience: this
last 10% of the shading process, can often be the most time consuming!
Next Steps to Improve Your Shading Skills
You now have a
clear, step-by-step framework to guide your shading process!
Note that this is one of the ways, not the only way, to organize the shading process, and as you gain experience, you’ll start to combine the stages more fluidly. They won’t have to feel as separate.
But - when you’re learning, having clear, distinct stages with focused priorities
helps ensure that you don’t skip any of the essential steps needed for
believable realism.
If your drawings aren’t reaching the realistic effect you want, chances are you’re skipping steps - or missing a few foundational elements, from these 3 categories:
✔️ Technical skills – how to control pencil pressure, choose the
right shading techniques, smooth out values, and create realistic textures and
transitions…
✔️
Modes of seeing – how to observe subtle value shifts, edge qualities,
and accurate value relationships…
✔️
Core knowledge – value structure, the elements of light and shadow on
form, and how to use them to bring your drawings to life…
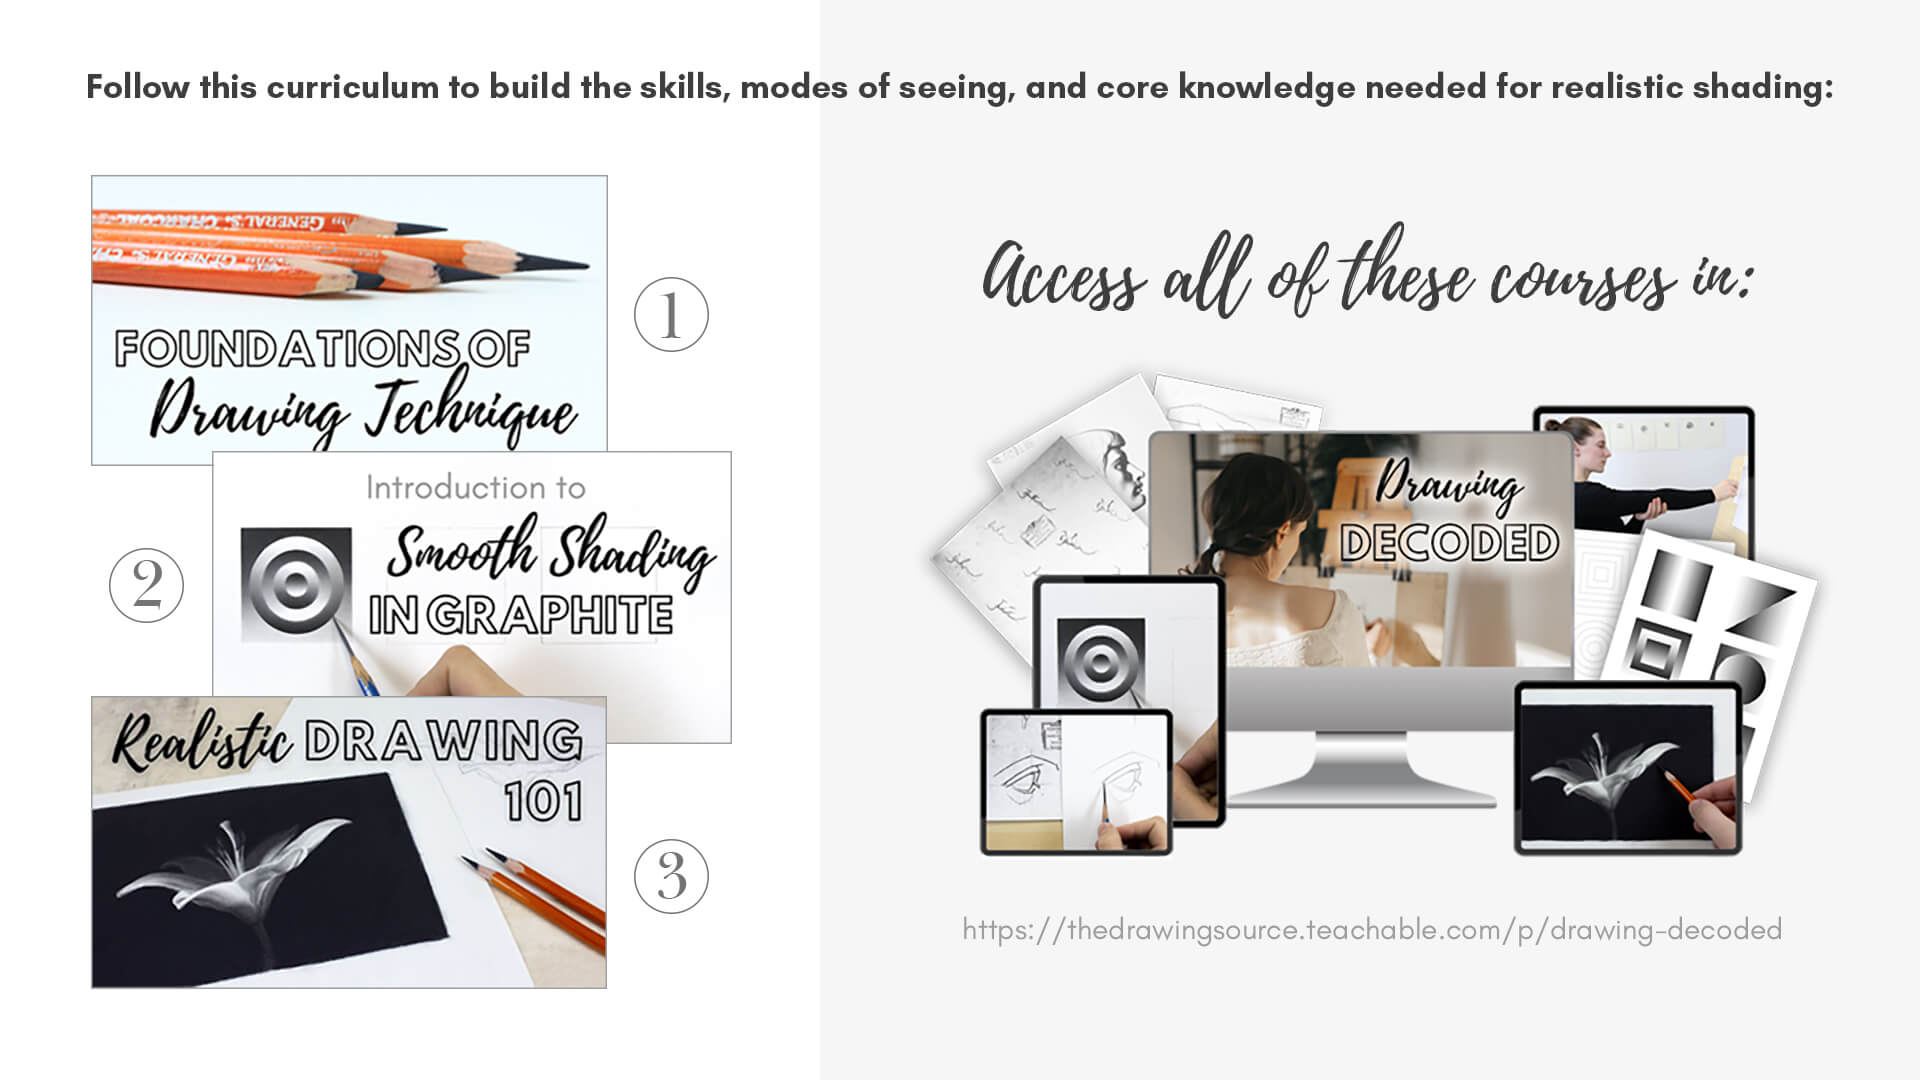
🎯 Let’s fill in the
missing pieces inside Drawing Decoded! Follow this curriculum inside the membership to build the
skills, modes of seeing, and core knowledge you need for realistic shading:
These are just a few of the courses inside Drawing Decoded! Each course builds upon the previous one, giving you everything you need
to apply the 4 stages of shading with clarity and confidence.
You’ve got the roadmap. Now let’s build the skills. Learn more and join Drawing Decoded here!
