- Home
- How to Learn Portrait Drawing
How to Learn Portrait Drawing
at The Drawing Source
Welcome to the Portrait Drawing Learning Path at The Drawing
Source. Here you’ll discover how to learn to draw the portrait in 4 phases – and
the prerequisite drawing skills you should have before studying this
challenging but rewarding drawing subject.
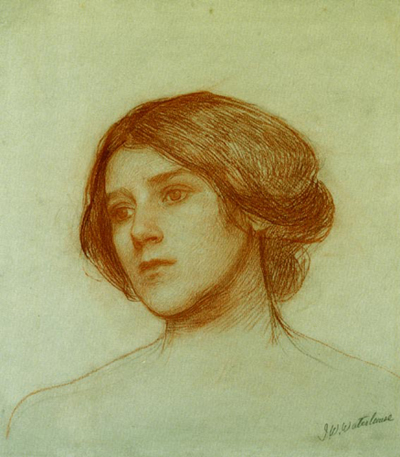 Drawing by John William Waterhouse
On this page: Table of Contents
>> Why Foundations Come First>> Your Map to Drawing Realistic Portraits
>> Why Portrait Drawing Can Be Discouraging
>> Learn to Draw the Portrait in 4 Stages
>> 1) Starting a Portrait Drawing
>> 2) Drawing the Features of the Face
>> 3) Head Anatomy and Construction
>> 4) Shading a Finished Portrait Drawing
>> Start Learning How to Draw Realistic Portraits
Why Foundational Drawing Skills Come First
Portrait drawing is one of the most rewarding subjects in
realistic drawing — and one of the most humbling. There's something deeply
compelling about capturing a person's likeness, the sense that a real, specific
human being is looking back out of the paper.
But the face is complex. It contains countless proportions, the intricate construction of the head, the anatomy of each feature, and the subtle values and edges that make skin, eyes, and expression feel alive — all interacting at once.
This is why portrait drawing is not a beginner subject.
Attempted too early, without strong foundations, it quickly becomes
overwhelming — and discouraging.
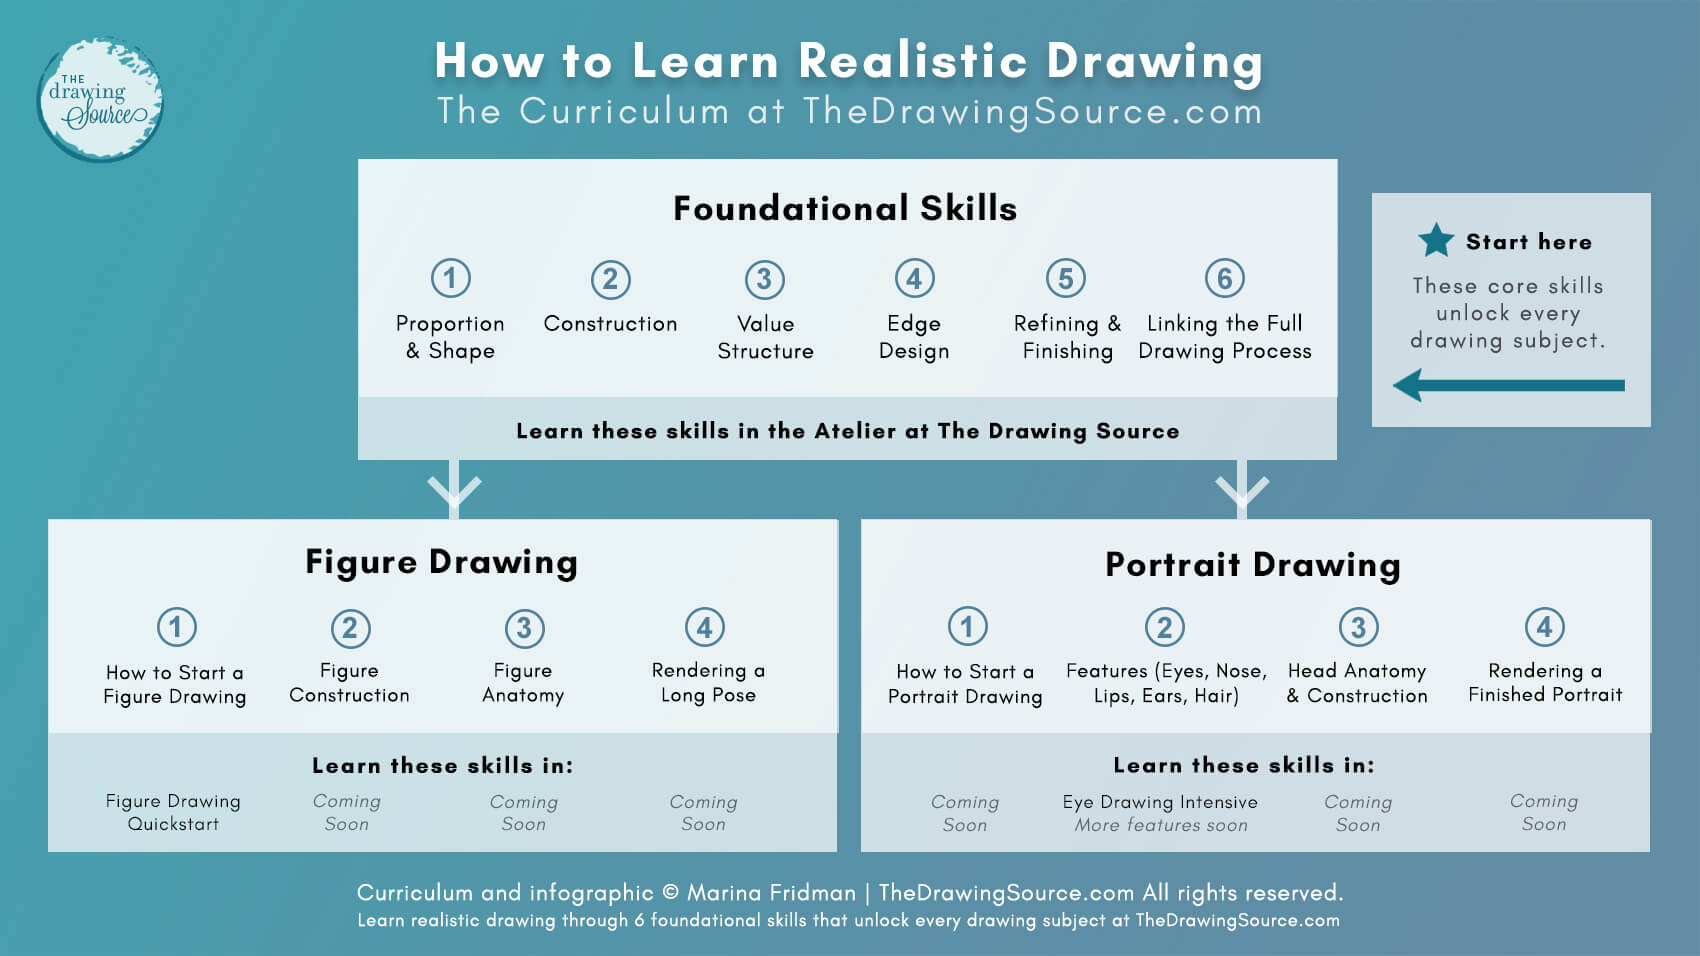
Notice on the
curriculum map above: portrait drawing does not come first, because it's Foundational Drawing Skills that unlock your ability to
draw portraits successfully.
Take measuring, for example — a foundational skill in the Proportion and Shape category. One of the greatest challenges in portrait drawing is capturing a likeness, or resemblance, so that our drawing actually looks like our model. Likeness is achieved by drawing accurate proportions and shapes.
The reason likeness can be such a struggle is that students
often attempt portraits before acquiring the measuring skills needed to draw
accurate proportions.
We use the same measuring techniques for portraits as we do for a still life. But, because the face is so much more complex, our measuring skills need to be at an intermediate-to-advanced level to measure the portrait successfully.
A small error that would go unnoticed on a bowl of fruit
reads immediately as "that doesn't look like them" in a portrait
drawing.
The techniques don't change. What changes is:
- The complexity of the subject, and
- The level of accuracy and control at which we must be able to use our foundational skills
In the Atelier at
The Drawing Source, you can learn 10 ways to measure and draw accurate
proportions, working with simplified versions of the portrait and
features of the face from the beginning of the program.
Why Students Are
Often Discouraged by Portrait Drawing
(and what to do about it)
Many students feel discouraged by portrait drawing simply because they attempt it before developing their foundational skills, or because they don’t have a map.
If you’ve ever felt discouraged drawing the portrait, it’s not because you “can’t draw” — drawing is a learnable skill.
It’s usually because:
1) Your foundational skills need strengthening
2) You don’t yet have a clear system for learning how to draw the
portrait
3) You haven’t learned the portrait-specific knowledge required (how to
construct the head and features of the face, anatomy, and how to bring it all
together in a rendered portrait drawing)
None of these mean you lack ability.
You simply haven’t been shown the full process – in the right order.
The good news: all of this is learnable, and there's a sequence for doing it.
How to Learn Portrait Drawing in 4 Stages
Before moving intensively into portrait drawing, your foundational
skills should already be developing. Once they are, learning portrait
drawing unfolds in four major steps:
Step 1) Learn How to Start a Portrait Drawing
The head as a 2D shape and 3D form; placing the features
First, we learn how to start a portrait drawing by exploring the head both as distinct 2D shapes and as simplified 3D forms – and we learn to place the features of the face in their correct spots.
At this stage, we’re not drawing detailed eyes, noses or mouths. We’re learning to quick-sketch the head as a simple, believable form, and to establish where each feature belongs.
This is an essential skill whether your goal is to draw finished, fully-rendered portrait drawings, or to quick-sketch heads while figure drawing.
The whole head, in full detail, is overwhelming to learn all
at once – so we start with just the framework, enough to place everything
correctly, before going deeper. This is the first, light pass at the head. It also
gives us a chance to develop the foundational skills of proportion, shape, and
construction that we’ll need to continue successfully to the next stages of
learning the portrait.
You can develop these skills in: Portrait Drawing
Quickstart (coming soon!)
The Portrait Drawing Quickstart course will teach you a clear, reliable
system for starting a head drawing and placing the features of the face accurately, in any
pose and at any angle.
In the meantime, you can start developing your essential foundational drawing skills — proportion, shape, and construction — in the Atelier at The Drawing Source, working with simplified versions of the portrait and features of the face.
Related pages:
What Beginners are Rarely Told About Figure and Portrait Drawing
The article title says it all! Listen to the audio clip, or read the article here.
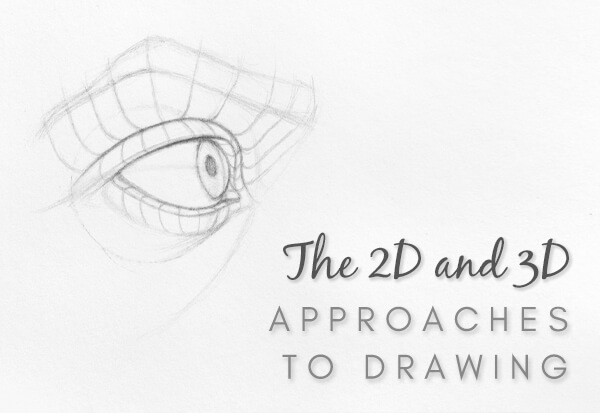
The 2D and 3D Approaches to Drawing
Learn the two primary schools of thought when it comes to teaching and learning drawing, the pros and cons of both, and which to focus on.
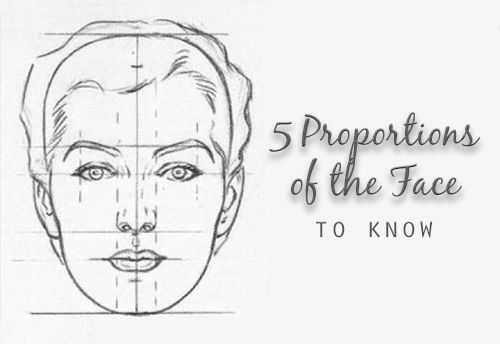
5 Proportions of the Face
to Use During Your Next Portrait Drawing
Each person's individual proportions make them look distinctly like
themselves. Here are five proportions to pay attention to in order to draw a better likeness of your model.
Step 2) Learn to Draw the Features of the Face
In-depth
studies of the eyes, nose, mouth, ears (and hair)
Next we zoom in to study the features of the face individually — how to draw the eyes,
nose, mouth, and ears. We learn the anatomy of each feature, how to block it in, construct it, and shade it realistically.
Each feature of the face deserves its own focused study, rather than being rushed through as part of the whole face. Learning them one at a time is far less overwhelming, and leads to deeper understanding and, ultimately, better portrait drawings.
We can also study how to draw hair at this stage.
Learn more on these pages:
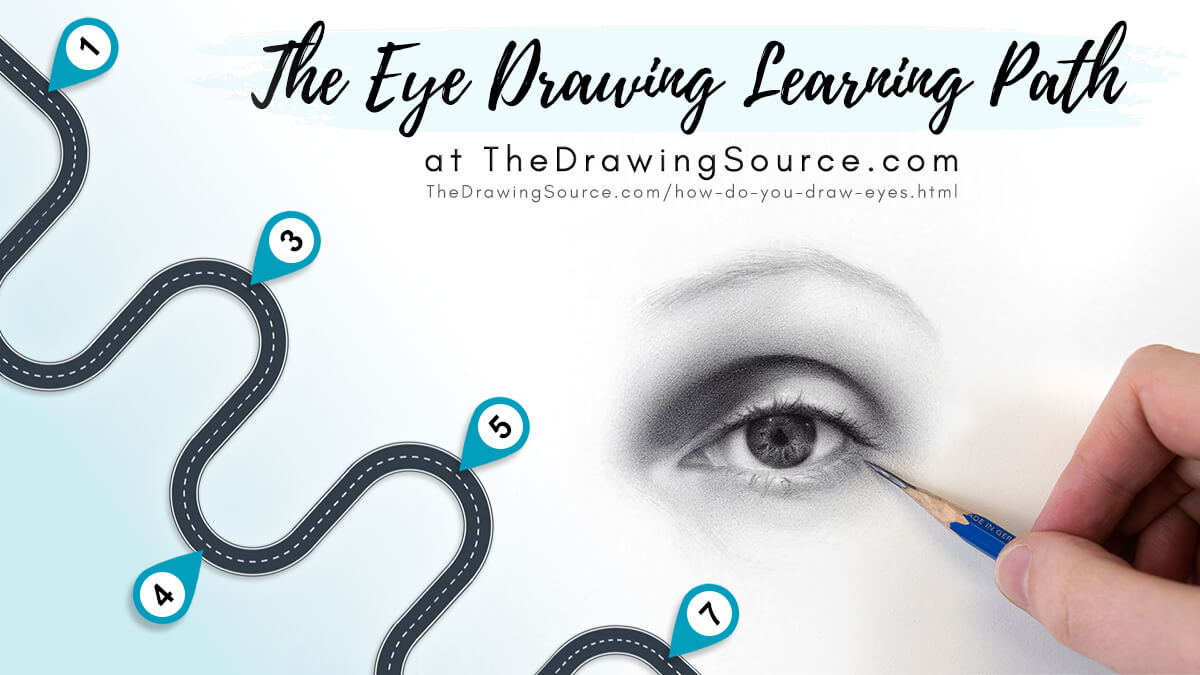
A comprehensive, step-by-step path for learning how to draw eyes,
with carefully structured video tutorials, downloadable resources, eye
reference photos, troubleshooting checklists, and eye drawing
transformations for inspiration.
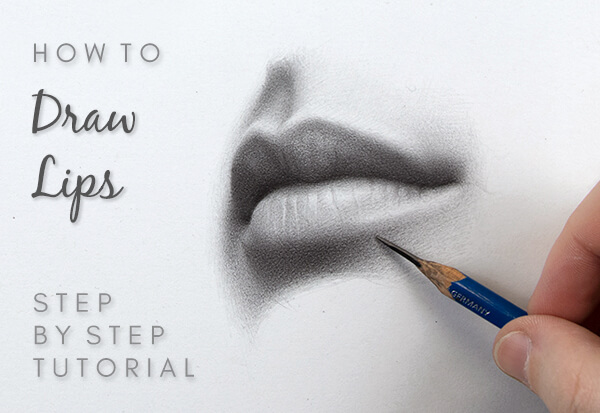
A tutorial on how to draw lips step by step in a realistic and naturalistic style. Download the lip reference photo and an infographic to remind you of the steps, to draw along with me.
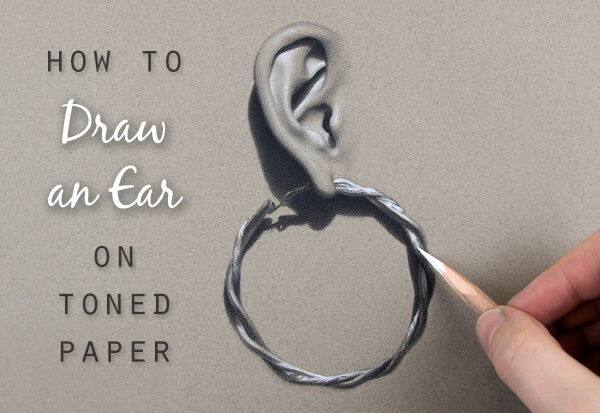
How to Draw an Ear on Toned Paper
Don't be one of those artists who ignore ears in portrait drawings! Take the intimidation out of this subject by learning how to draw a realistic ear in this step by step drawing tutorial.
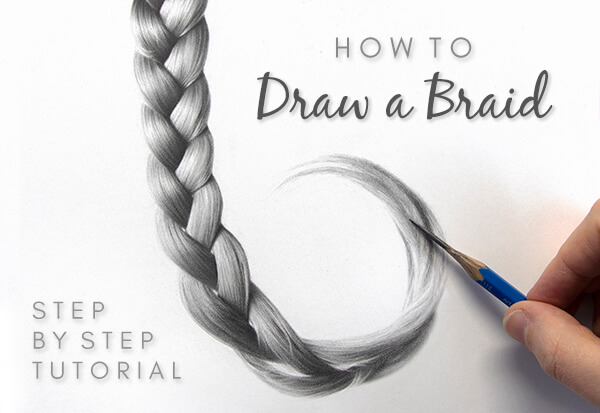
How to Draw a Realistic Braid Step by Step
A hairstyle can be the finishing touch of a portrait drawing, or its focal point. Learn how to draw a realistic braid in this step by step tutorial!
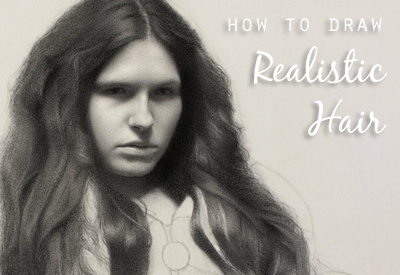
How to Draw Hair:
A Step by Step Tutorial
Learn how to simplify such a complicated subject as hair, draw hair that
looks like your model's without obsessing over every detail, draw
realistic and dimensional locks, and much more in this step by step
tutorial!
Related courses:
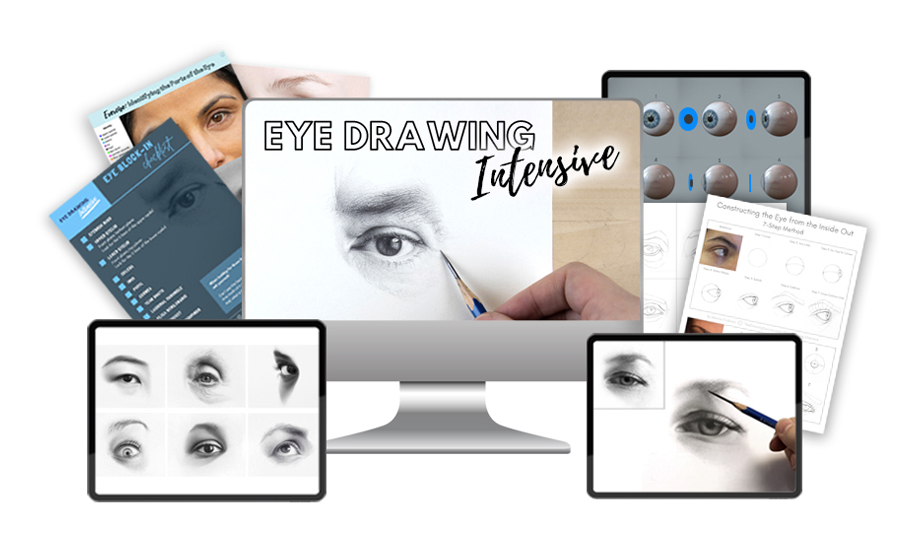
The Eye Drawing Intensive — a deep dive into drawing the eye
realistically, from construction through to detailed rendering. You'll learn
the anatomy of the eye, how to block it in and construct it accurately, and how
to shade it convincingly.
Courses on the rest of the features of the face are
currently in development.
Step 3) Learn Head Anatomy and Construction
Returning
to the head as a whole, in greater depth
Here we return to the head as a whole, deepening our understanding
of the skull, the anatomy of the head, and the planes of the face.
In our initial construction of the head (step 1), we could
only place the features with simple lines because we didn't yet know how they
were built. Having studied the features in depth, we can now integrate them
into a fully constructed head.
Step 4) Learn to Shade a Finished Portrait Drawing
Values,
edges, and the full drawing process
Finally, we bring everything together — all of our
foundational skills, plus our portrait-specific knowledge — to draw a complete,
shaded portrait from start to finish.
This is where the portrait fully comes to life: accurately
proportioned, three-dimensionally constructed, and rendered with the values,
edges, and refinement that make it feel real.
Related pages:
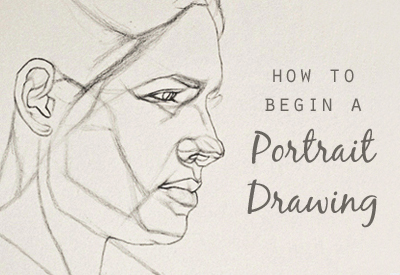
Portrait Drawing Tutorial, Part 1
Blocking in the Portrait
Learn how to create a block-in: a detailed line drawing of
the face that maps out the information you need to complete your
drawing.
Learn about drawing concepts such as negative shapes and rhythms, which
will help you create a more accurate, yet natural-looking looking.
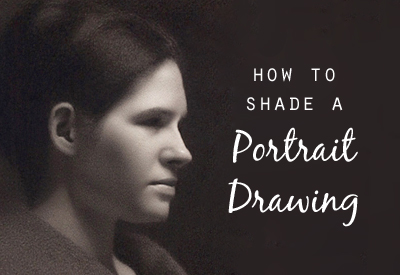
Portrait Drawing Tutorial, Part 2
Shading the Portrait
On this second page of the tutorial, I pick up where I left off with my completed block-in,
and begin applying values to my drawing.
Learn how to render the portrait: from massing in the general shapes of
the face to shading the more detailed features.
Learn How to Draw Realistic Portraits
Ready to start
learning how to draw realistic portraits, in the right sequence?
If you're new to realistic drawing in general:
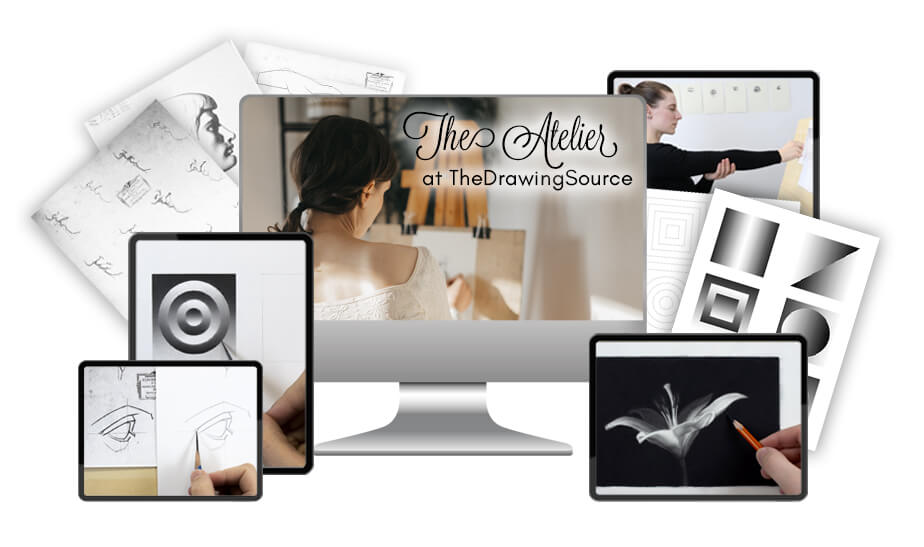
Start by developing your foundations in the Atelier, a
structured curriculum that builds the essential skills every portrait depends
on — proportion and shape, construction, value structure, and edge design.
You’ll work with simplified portraits and features from the beginning, preparing you for the full complexity of a finished portrait drawing in more advanced courses.
If you have solid foundational skills and want to take on
the features of the face:
Take the Eye Drawing Intensive — a deep dive into drawing
the eye realistically, from construction through to detailed rendering. It's
the ideal place to begin your feature studies.
Courses on the rest of the features of the face
are on the way, as well as Portrait Drawing Quickstart, courses on head
construction, anatomy, and rendering a finished portrait.

By Marina Fridman — a professional visual artist, former tenure-track professor of art, and founder of The Drawing Source, where over 1,000 students have taken drawing courses.
Search the site above
Welcome to The Drawing Source!
This is an online school teaching realistic drawing through six foundational skills that unlock every subject.
Start here if you're new.
Then, explore these learning paths:

Hi, I'm Marina — a professional artist and former professor of art. I started this school to simplify realistic drawing into steps that are easy to understand and apply. Let's grow your skills and your enjoyment of the drawing process.
Realistic Drawing Curriculum
Develop your foundational skills and apply them to figure and portrait drawing in the Atelier membership.
$29/month USD or
$199/year (5 months free)
