- Home
- Drawing Supplies
- Kneaded Eraser
3 Kneaded Eraser Techniques
for Realistic Drawing
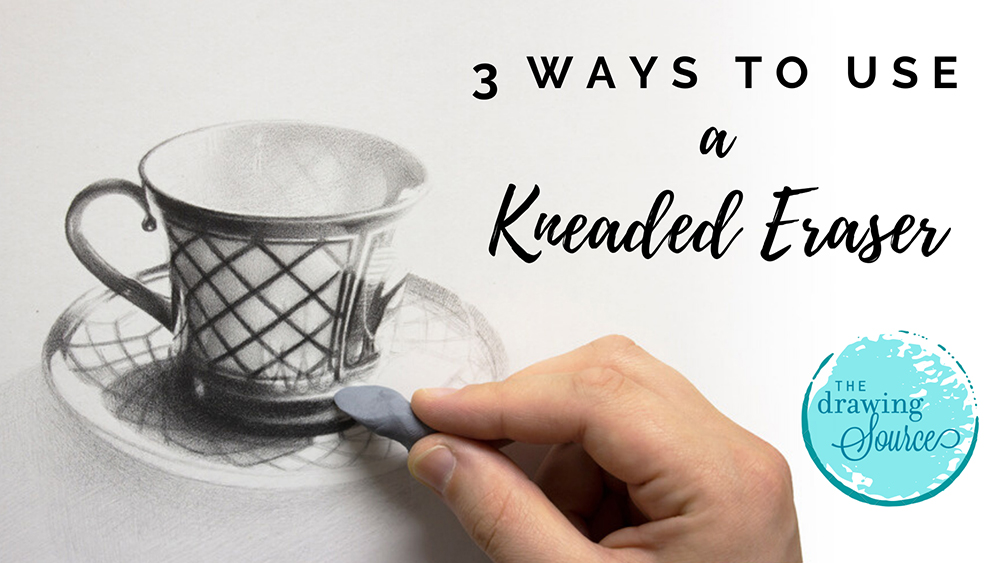
Wondering how to use a kneaded eraser for realistic drawing? Look no further! In the video below, discover what sets them apart from typical erasers, and three ways to use them in your next drawing. These are indispensable drawing tools that I use just as much as my pencil.
This video is from my Foundations of Drawing Technique course,
which you can access in the Drawing Decoded Membership!
My Current Favorite Kneaded Eraser Brand
Though I mention a few brands in the video above, my current favorite brand is: https://amzn.to/3PYuKBB
This brand of kneaded eraser is more rigid, and holds its shape better than other brands that I have tried, making the techniques in the videos above easier to use.
Prefer to read? Here is the article version of the video:
When it comes to realistic drawing tools, your kneaded eraser is almost
as important as your pencil. Let's get into why they are so great, and
learn three ways to use them.
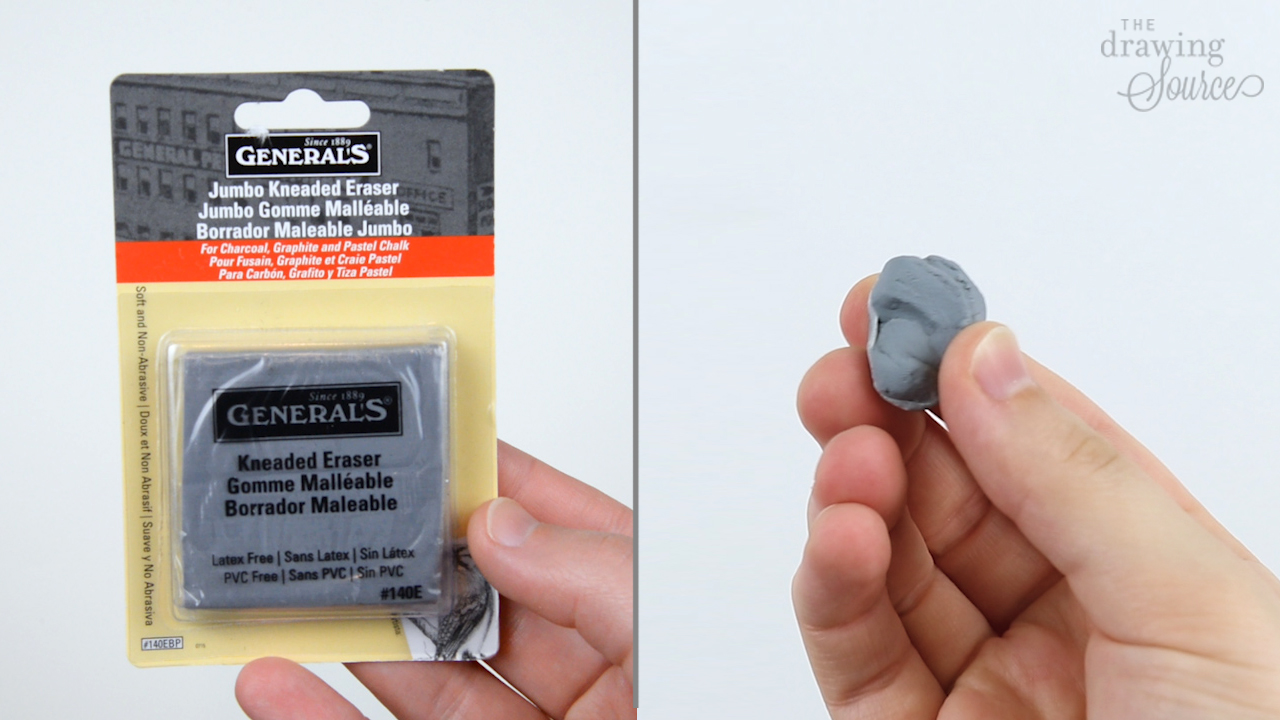
Kneaded
erasers are sold in packages like this (bottom left image). You actually have several erasers in
here, because you don’t have to use this entire thing at once. I like to remove
a piece that’s about this size (bottom right image) and use it until it’s time to replace it. I’ll
show you how to know when it’s time to replace a kneaded eraser that later in
the article (or video, if you prefer to watch above!)
3 Factors that set the Kneaded Eraser Apart
from a Typical One
Factor 1:
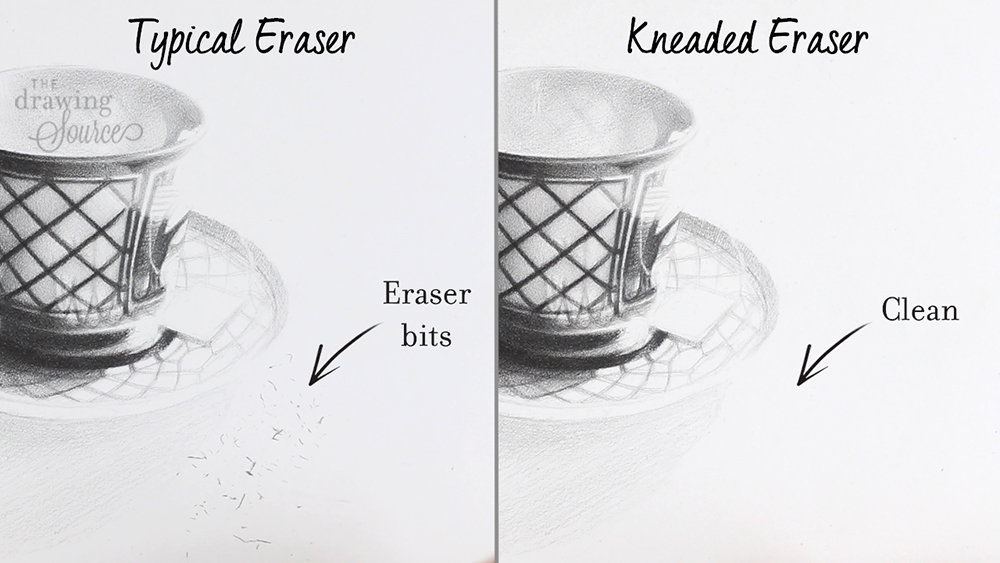
1. A kneaded eraser doesn’t leave residue and eraser bits on
your drawing. Removing residue left by a typical eraser can easily disturb the drawing
surface, especially if it’s in charcoal, so most of the time it’s best to avoid
this scenario.
Factor 2:
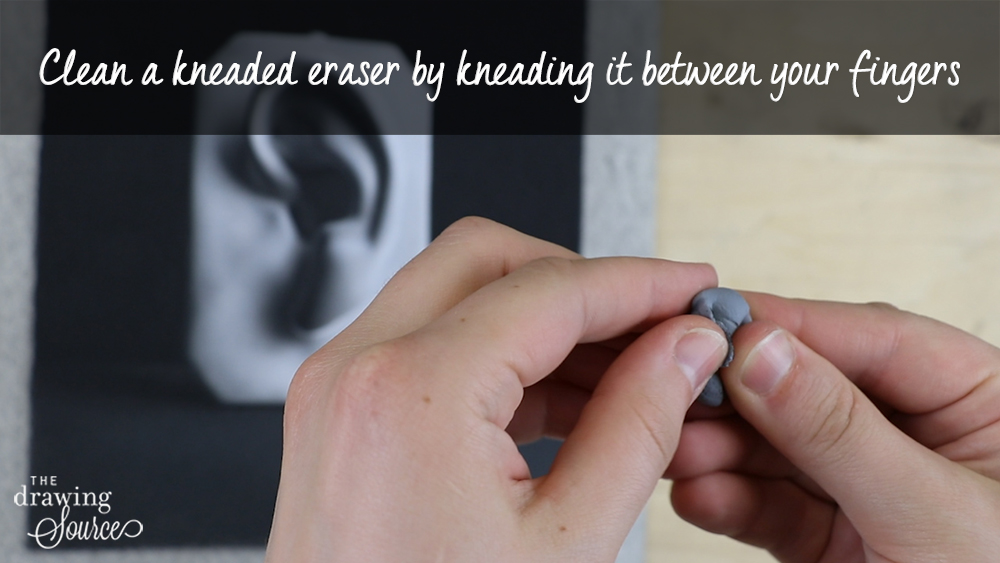
2. Once a kneaded eraser has picked up pencil dust, you can
clean it by kneading it between your fingers. (Like magic!)
And most importantly...
Factor 3:
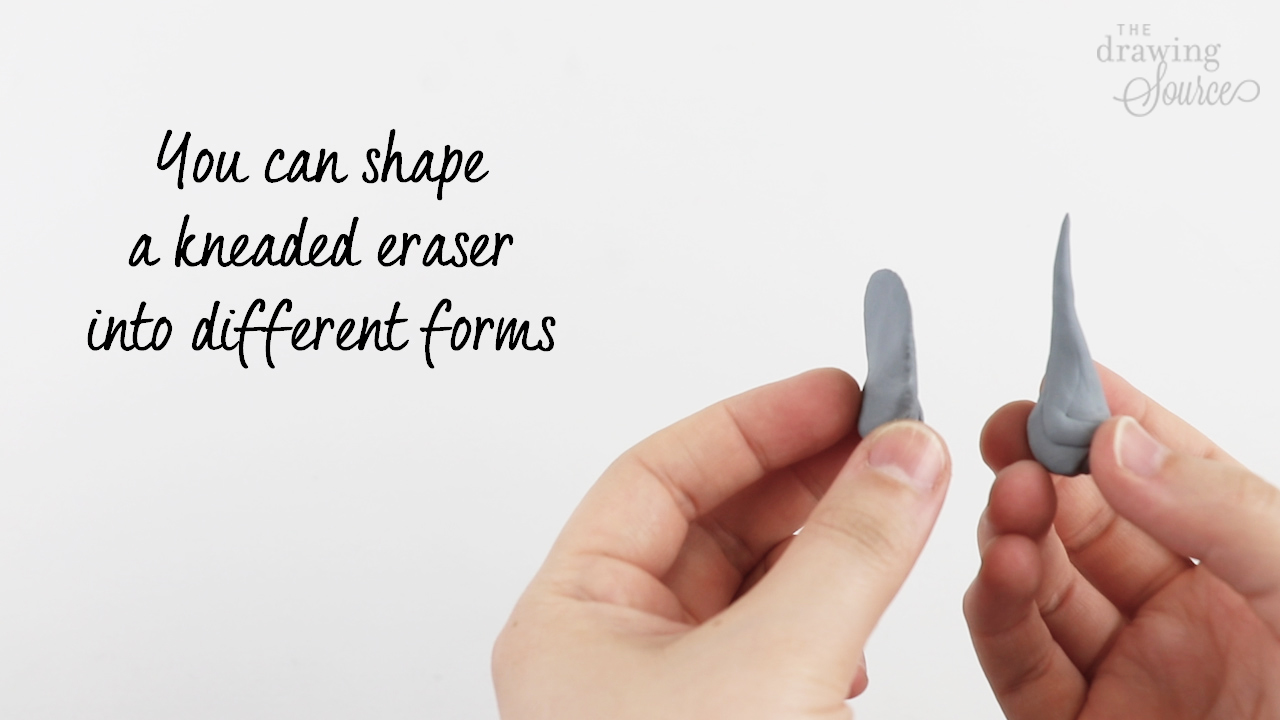
3. You can shape a kneaded eraser into different forms
depending on how you intend to use it. This
makes it not only an indispensable erasing tool, but a drawing tool as well.
3 Techniques to Use with your Kneaded Eraser
Technique 1
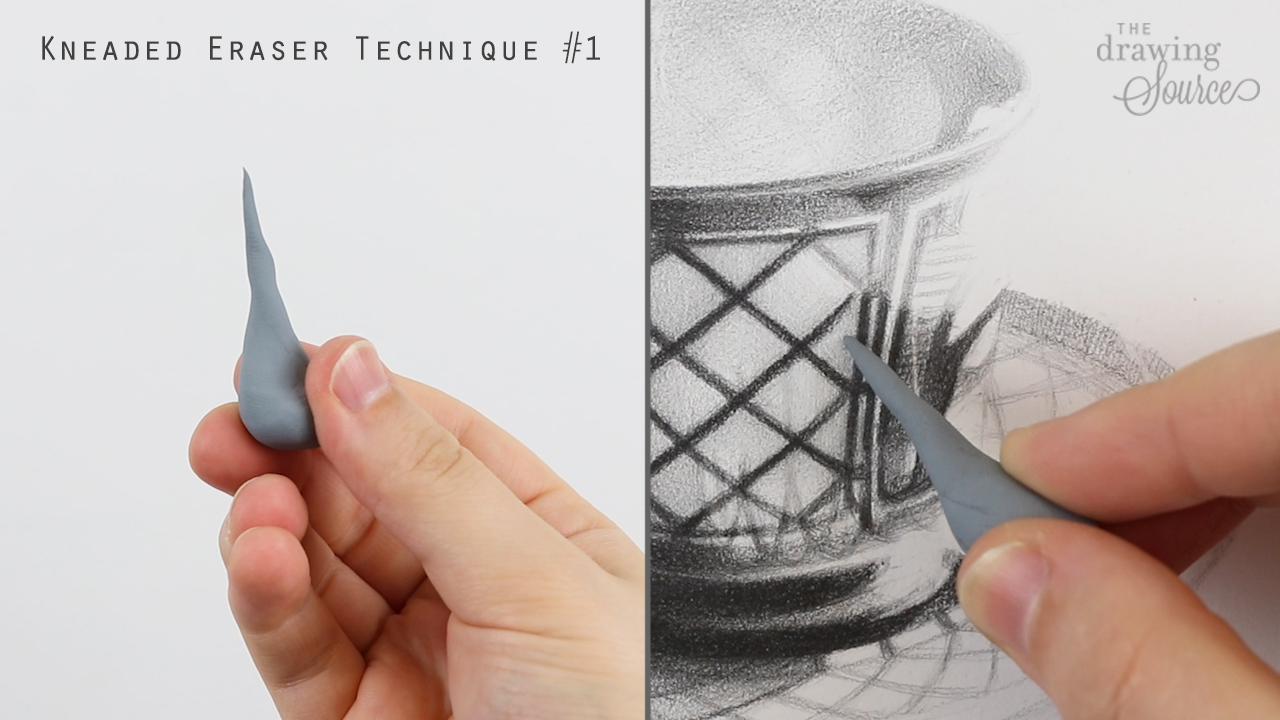
You can shape a kneaded eraser into a
pencil point and use it to lighten specific dots or small inconsistencies in value.
This is extremely helpful when you get to the advanced stages of shading and refining
your drawing.
Technique 2
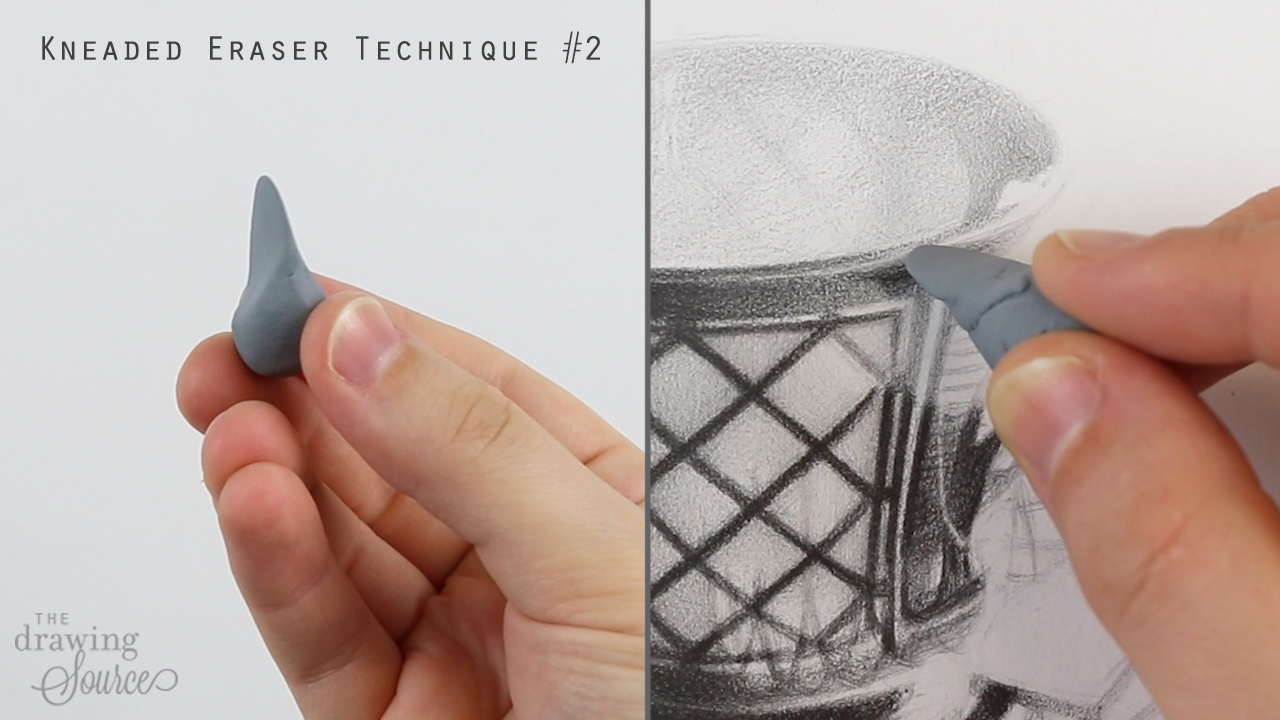
You can give the eraser a flat, sharp edge and use this edge to:
- erase sharper lines,
- create sharper lines, or to
- clean up and sharpen an edge.
If you’re
unfamiliar with the concept of edges, watch Lesson 6 of my free Mini-Course.
Technique 3
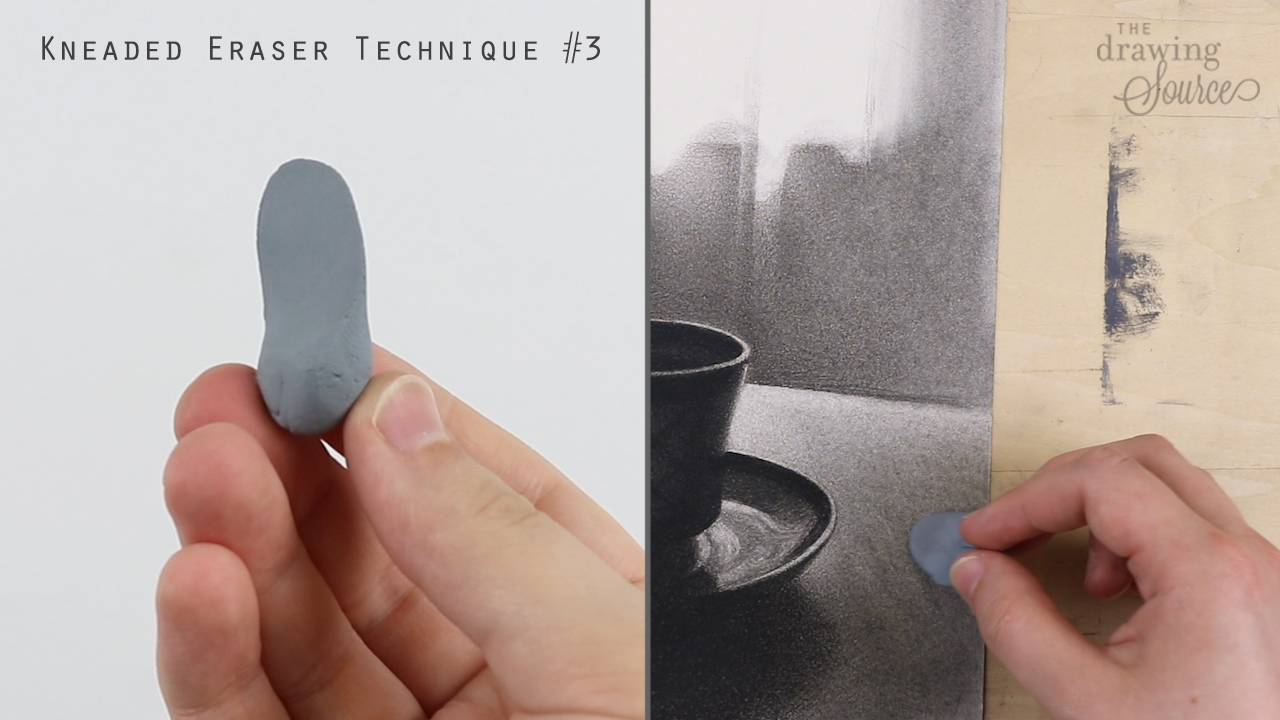
You can flatten the eraser so it has a large, flat surface area and then, using the flat underside, drag it over an area of your drawing to lighten it.
This is the trickiest technique of the 3 - it’s very easy to lift off more value than you intend to, or to erase in a streaky way. Sometimes before I use this technique, I lightly drag the eraser over a different area of my drawing to coat it in a thin layer of pencil dust (watch the video above for a demonstration). This helps me remove less value more evenly from the area that I actually want to lighten.
This
technique will definitely take the most practice and finesse to use
effectively.
For the most control and stability, use these techniques while anchoring your hand. I demonstrate how to do that in my How to Hold and Control Your Pencil video.
How long will a kneaded eraser last and when should you replace it?
One
of these will last for quite a while - it depends on how much you use it, and
what kind of pencil dust you are erasing. However, eventually it will become so saturated with pencil
dust that it will no longer lighten even when you knead it (no pun intended!)
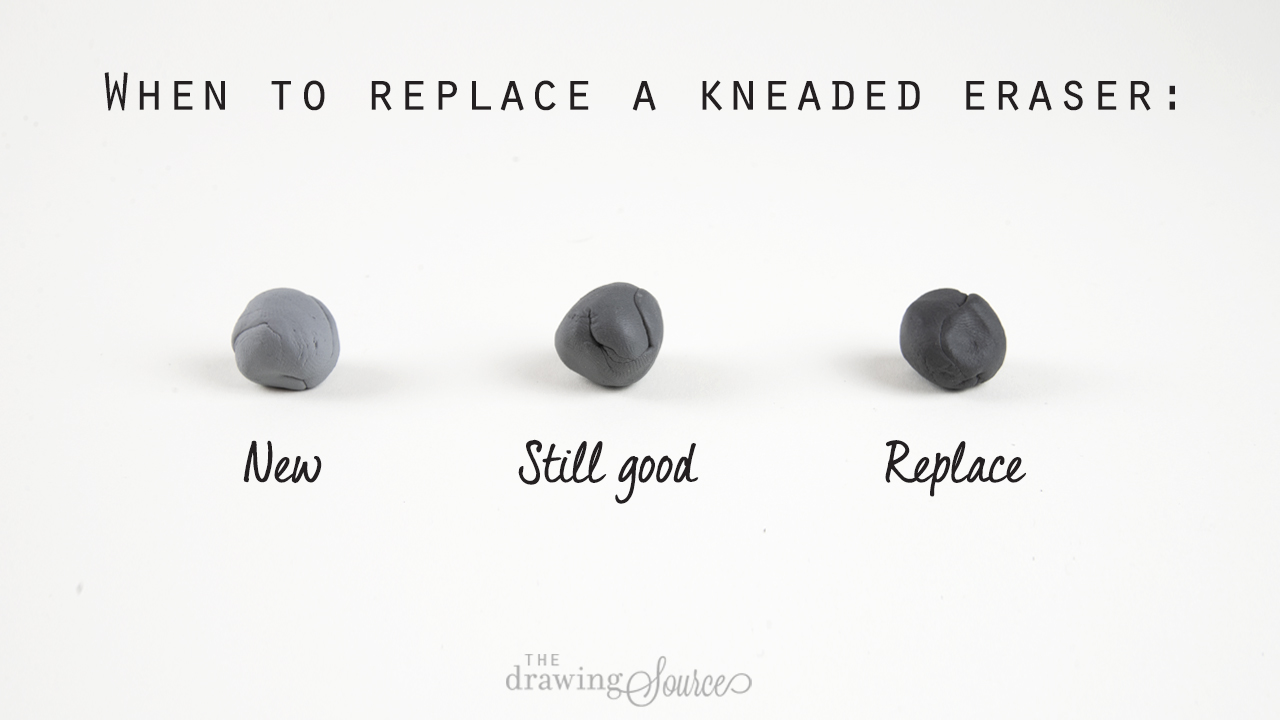
It may also eventually
become sticky, or lose it’s malleability. When any of these things happen, it’s
time to replace your eraser with a new one, because it might start leaving marks on your drawing instead
of removing them.
What brand should you use?
These days, my current favorite kneaded eraser brand is this one: https://amzn.to/3PYuKBB
Because this kneaded eraser is more rigid than others, it holds its shape better, making it easier to use the techniques on this page.
Give these techniques a try, and for more video tutorials on realistic drawing, I invite you to take my free Mini-Course.
Happy drawing!
Your drawing prof,
Enjoyed this page? Please share it!
Share buttons and pinnable image below:
If you enjoyed this page on how to use a kneaded eraser, you may also be interested in:
Related Pages
How to Sharpen a Drawing Pencil (Video)
How to Hold and Control a Drawing Pencil (Video)
3 Ways to Use White Charcoal Pencils
How to Protect and Store Charcoal Drawings
Return to Drawing Supplies from 3 Ways to Use a Kneaded Eraser
