- Home
- Foundational Skills
- Realistic Shading Hub
Shading a Drawing
3 Essential Components for Realism
Shading a drawing is what transforms a flat outline into something that looks so real, you could almost reach right into it.
Like other realistic drawing fundamentals, shading isn't a mysterious talent some people are born with and others aren't. It's a process that can be distilled into three clear components, and learned like any other skill. Let's get started!
At its core, shading a drawing is:
- Value Structure: Adding organized values (shades of gray) to our drawings. This creates the overall effect of light.
- Edge Design: Designing the transitions, or edges, between those values. This creates depth and dimension.
- Refining and Finishing: Smoothing out and adding nuances to our values and edges. This heightens the realism and believability of the drawing.
These stages build on each other. Meaning: if we skip the first, no amount of the third will save our drawing!


In this guide, we'll walk through all three stages — what they are, why they matter, how they build on each other to create the convincing illusion of light and form, and the parts of each one that students often miss (so that you don't!).
Shading a Drawing - Priority #1:
Value Structure
Value structure is where shading a drawing begins – and the most commonly skipped step! Without value structure, no amount of detail or refinement will make a drawing look convincingly real.
Once our block-in (line drawing) is complete, we start shading by adding
values - shades of gray - to our drawing. Value refers to how light or dark an
object or area is.
In this first shading stage, our goal is not detail or refinement. Our goal is to simplify and organize values.
In drawing we work from general to specific. We establish the larger, more general value relationships first, before adding smaller, more nuanced ones.
So, we start shading by simplifying the values we see into three general groups — light, halftone, and dark — based on where they appear on the subject.
This is called establishing a value structure.


Why Value Structure is an Essential First Shading Step
When
we start learning how to shade, it’s natural to reach for the details
first — the eyelashes, shiny highlights, surface texture, and the like.
But this is one of the most common shading mistakes that results in a flat, two-dimensional looking drawing!
I
absolutely did this myself as a beginner. I'd spend an hour refining my
drawing, and it would somehow look worse — busier, but not more
realistic, because value structure must come first, before detail.
Determining the value structure lays the groundwork for realism for several reasons:
➤ Value structure (not detail) creates the effect of light and shadow in a drawing. Without a clear value structure, we will not convincingly represent the light and shadow in the scene, and our shading will look confusing or arbitrary — no matter how much time we spend refining it.
➤ Realism depends more on clear value relationships than on detail.
➤ Detail only strengthens realism when it's built on top of a clear, organized value structure. Detail is like the icing on the cake. We need to create (or draw) the form underneath the icing (or detail) first!
Learning how to see and simplify a subject into 3 value groups is one of the most commonly missed shading skills. If your shading does not
convincingly represent the light and shadow on your subject – this is
almost definitely the culprit. The value structure needs work.
Value Structure at a Glance
Actions we take in this shading stage:
- Determining and drawing the value extremes
- Establishing a 3-value structure for the drawing
- Massing in flat values
Areas of Knowledge:
- The elements of light and shadow on form
- Understanding the subjectivity of values and the importance of value relationships
Modes of Seeing:
- How to see and simplify values
- How to judge value relationships
- How to find value extremes
Technical Shading Skills needed for this stage:
- How to shade even values (here are 3 tips for shading light values specifically)
- How to draw a value scale
- How to choose the pencil grades for efficient, comfortable shading
-
How
to make a value appear darker or lighter (not always by darkening or
lightening!)
Develop these shading skills, modes of seeing and areas
of knowledge in the Atelier:

Start with Foundations of Drawing Technique, where you'll
build the pencil control and precision that shading depends on — learning to
adjust pressure and pencil stroke quality with intention, and to use your
pencil and kneaded eraser to modify and smooth values.
Then continue to Smooth Shading in Graphite, where you'll learn to shade smooth, even tones and value scales, see and draw effective value structures, convincing light and shadow effects, and create believable depth and dimension in your drawings.
Both courses are included in the Atelier:
Shading a Drawing - Priority #2:
Edge Design
Once the value structure is established, we start 'turning the form' — creating the illusion of depth and dimension by modifying the edges — the transitions between values.
In drawing, an edge is not just a boundary or end of a form.
An edge is a transition in value.
Anywhere a value becomes lighter or darker, there is an 'edge'.
This means that edges appear:
- When a form begins or ends
- When a form turns
- When there's a plane change, or
- When a shadow begins or ends
Once we see it this way, we realize that edges are everywhere in our drawing. Not just around the outside of things — throughout every value.


Edges describe how one value becomes another value.
They're what tells the viewer's eye whether a form is turning slowly, changing planes abruptly, or somewhere in between.
- We show a slowly turning form through a soft edge — a gradual gradation from one value into the next.
- We show a plane change, angle change, or the abrupt end of a form through a sharp or hard edge — one value placed right next to another, with a clear boundary. No transitional values or gradations.
- Most edges exist somewhere between these two extremes.
By designing a full range of edge qualities, we can describe everything
from a softly rounded cheek to a crisp plane change on a folded piece of
paper — making our drawings feel solid, dimensional, and convincingly
real.
Why Edge Design is Essential to Shading a Drawing
Edges create the illusion of depth, dimension, and form
within the values you've already established.
Without intentional edge control, a drawing can look flat, blurry, or overly outlined — even if the values themselves are accurate.
Edges, in combination with value contrast, are also used to create focal points: areas of main focus that attract the eye more than other elements in the image.
Learning to see and control edges is one of the clearest differences between beginner work and more advanced, realistic drawings.
Edge Design at a Glance
Actions we take in this stage:
- Analyzing and determining edge qualities
- Creating depth and dimension by varying the edge qualities throughout our drawing
- Creating a focal point
Areas of knowledge:
- What edges are and why they’re important, and
- What a focal point is and how to create it
- How to identify and shade according to the ‘value bands’ in each subject
Modes of Seeing:
- How to see the range of edges in a subject
- How to identify where the focal point should be
Technical Shading Skills we develop in this stage:
- How to soften edges (learn 4 shading techniques in Smooth Shading in Graphite)
- How to sharpen edges
- How
to draw subtly different degrees of edge qualities
Develop these skills, modes of seeing and areas of
knowledge in the Atelier:
Learn to create a full range of edge qualities, from soft
gradations to crisp plane changes, and use them to build depth and dimension in
your drawings, in Smooth Shading in Graphite.
Then, in The Drawing Process: from Start to Finish, you'll learn how and when to apply edge design as part of a complete, structured drawing process.
Both courses are included in the Atelier:
Shading a Drawing - Priority #3:
Refining and Finishing
Refining and finishing is where a drawing can transform from convincing to captivating.
By this stage your drawing is on its way to looking
realistic and convincing. Here we slow down and finally dig into the details —
patiently adjusting values and edges to make our illusions of light,
form, and depth even more nuanced and compelling.
This is where subtlety matters — small changes can make a big difference.
Rather than adding detail everywhere, we make selective
refinements — learning where to add detail and where to simplify.


Why Refining and Finishing is Essential to Shading a
Drawing:
Many drawings either remain unfinished or become overworked at this
stage — not necessarily because the artist lacks skill, but because they don't
know what to refine, why, or when to stop adding detail.
Refining and
Finishing at a Glance
Actions we take in this stage:
- Focus on more intricate, detailed shading
- Check that we have created a convincing effect of light
- Even out inconsistencies in values
- Patiently refine values and edges
- Decide when to consider the drawing finished
Areas of Knowledge:
- Understanding what to refine and why
- Understanding when a drawing is finished
Modes of Seeing:
- How to see nuances in values and edges
- How to see what needs more detail versus what should be simplified
- How to identify inconsistencies in values and edges
- How to assess whether the effect of light is convincing
Technical Shading Skills we develop in this stage:
- How to refine values with precision and control
- How to add nuanced edges without overworking
- How
to assess and adjust the overall effect of the drawing
Develop these skills in the Atelier:
Start with the Smooth Shading in Graphite course, where you'll learn to create nuanced values and edges with precision and control.
Then, in The Drawing Process: from Start to Finish, you'll learn how and when to apply these refinements as part of a complete drawing process — including how to know when to stop.
Both courses are included in the Atelier.
Shading Complex Textures
Understanding these three core components of realistic shading is essential for shading any subject.
More
complex textures — clouds, fabric, skin, glass, a planet surface — can
trick you into thinking that they need their own special techniques.
They don't.
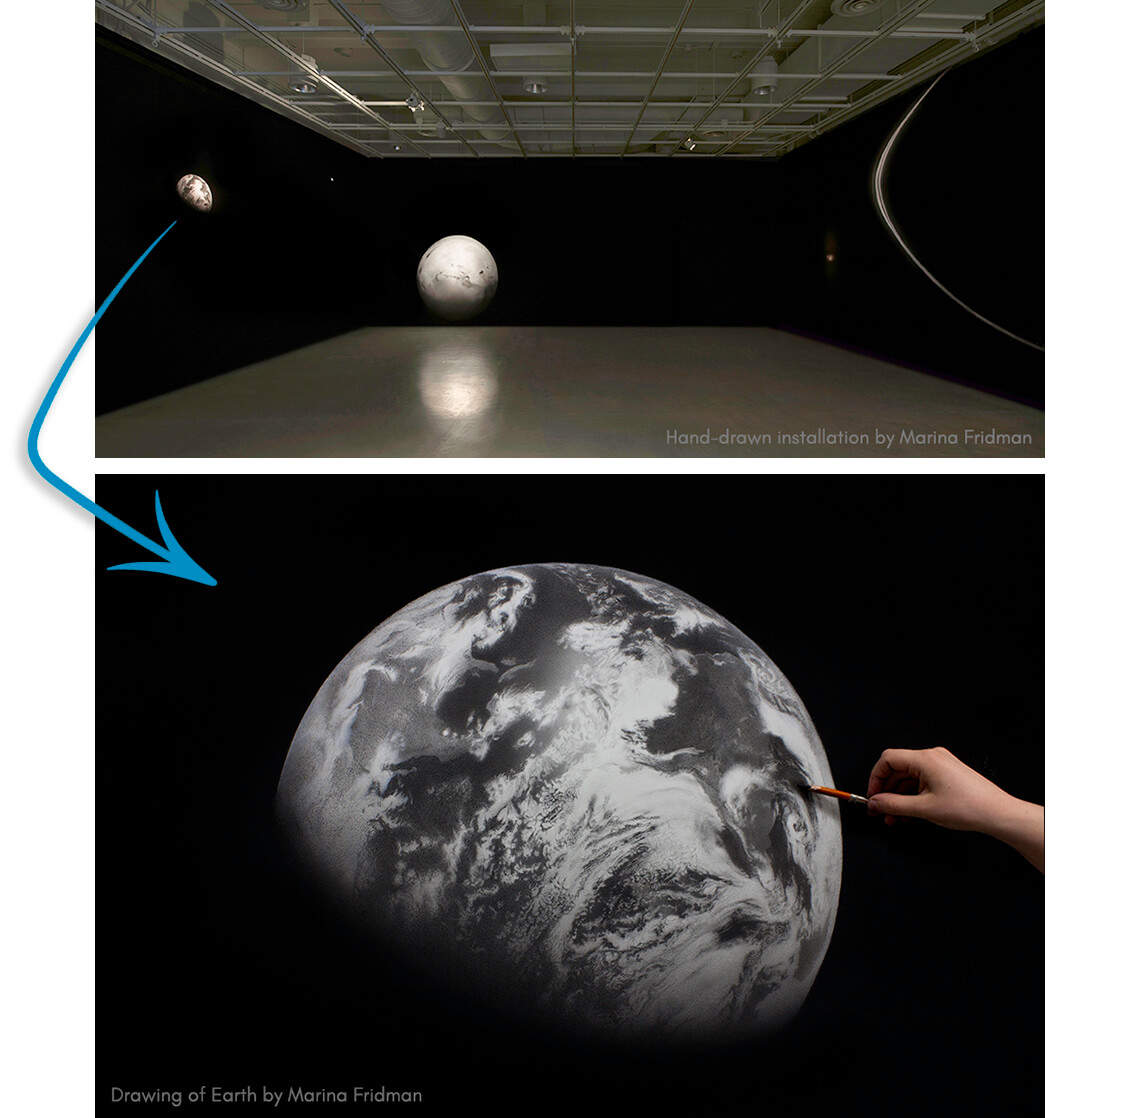
Complex textures need these same three shading stages, executed at a more advanced level.
Tutorials on shading more complex textures are in progress! The best way to be ready for them is to have these foundations acquired first.

By Marina Fridman — a professional visual artist, former tenure-track professor of art, and founder of The Drawing Source, where over 1,000 students have taken drawing courses.
Return to the Homepage from Shading a Drawing
Return to Foundational Skills from Shading a Drawing
Search the site above
Welcome to The Drawing Source!
Here you can learn realistic drawing through six foundational skills that unlock every subject.
Start here if you're new.
Then, explore these learning paths:

Hi, I'm Marina — a professional artist and former professor of art. I started this school to simplify realistic drawing into steps that are easy to understand and apply. Let's grow your skills and your enjoyment of the drawing process.
Realistic Drawing Curriculum

Develop your foundational skills and apply them to figure and portrait drawing in the Atelier membership.
$29/month USD or
$199/year (5 months free)
